Introduction
Ironing may seem like a tedious chore but it’s important to remember to iron your clothes to maintain them. Not to mention, you don’t want to be well-dressed and feeling confident only to have your outfit stand out (in the wrong way) for wrinkles that could have been avoided if you knew how to properly iron your clothes.
Read our tips and tricks below and learn how to correctly iron your clothes in no time!
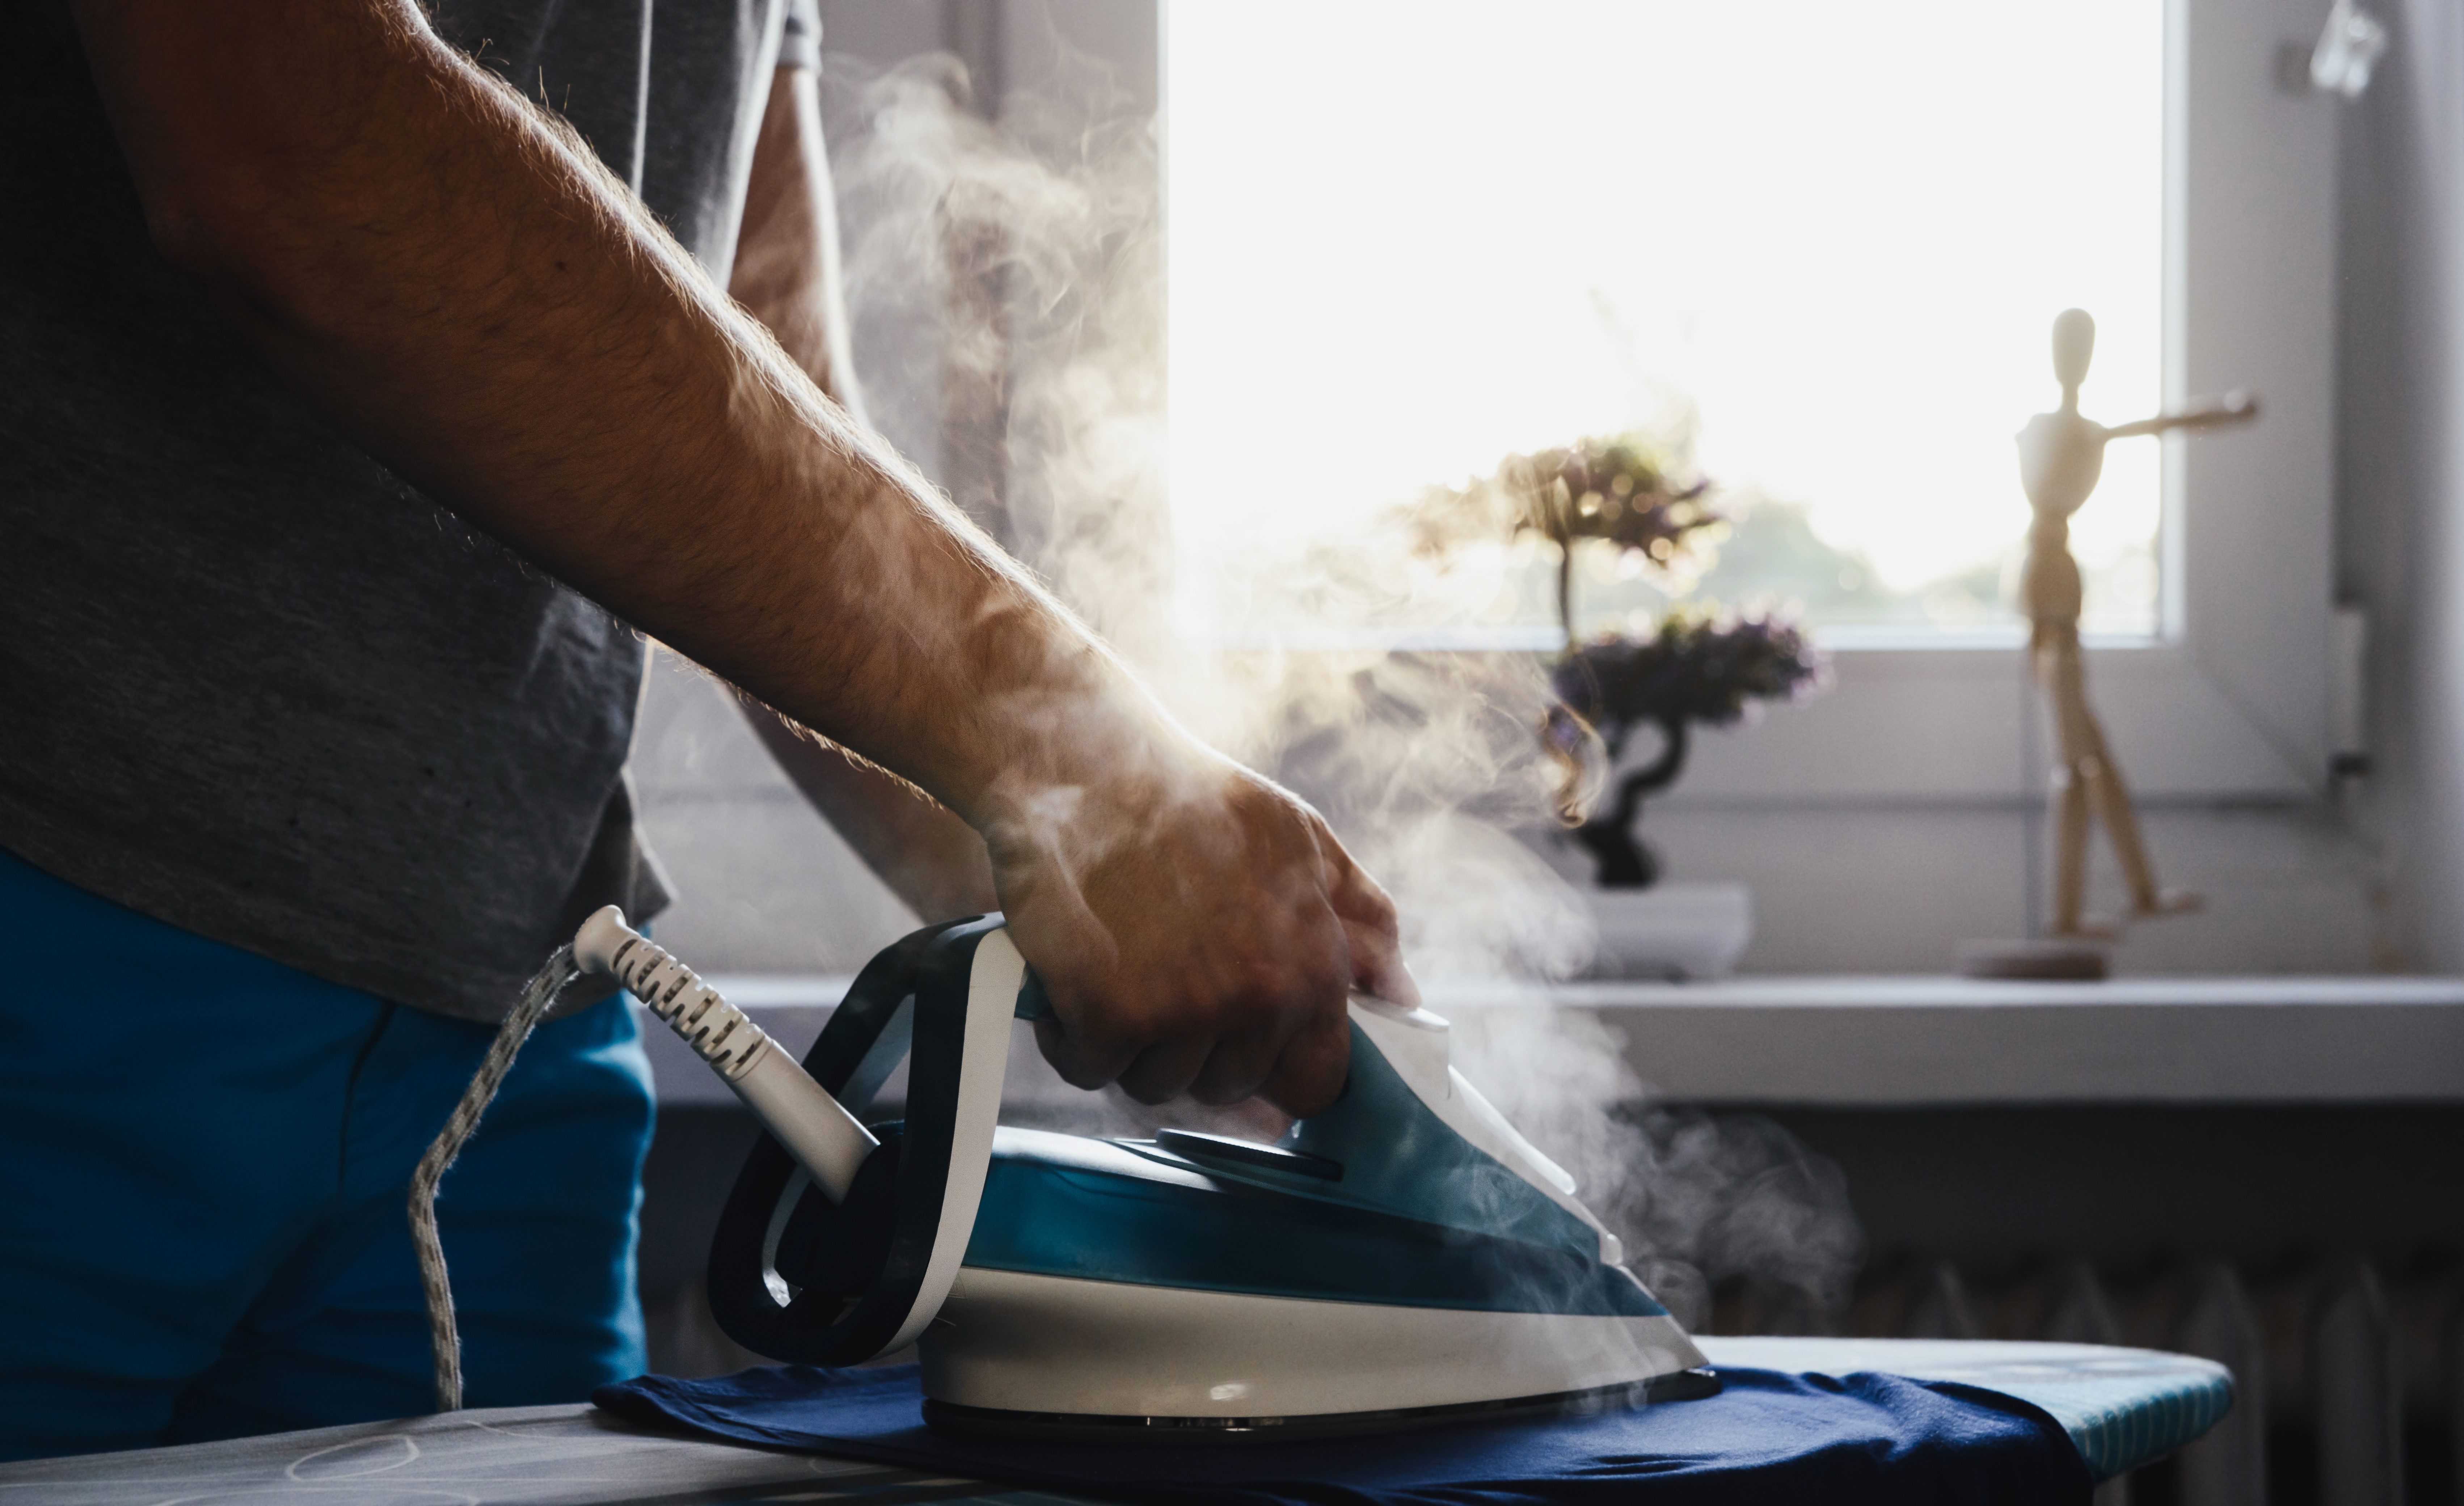
How to Iron Clothing
Let's begin by looking into how to iron the most common pieces you'll find yourself with. Note that you will require the following items:
- Iron (filled with water)
- Ironing board
- Spray bottle
Shirts
-
Take your shirt and place it flat on an ironing board, without stretching the fabric.
-
Start at the cuff of the shirt and press the iron up towards the shoulder. It is okay if the sleeves start to dangle off the board as you iron the center of the shirt. Use the tip of the iron to get around buttons.
-
Keep rotating the shirt as you go from the center to the back, always ironing side to side.
-
Don't forget the collar, ironing it up and down.
-
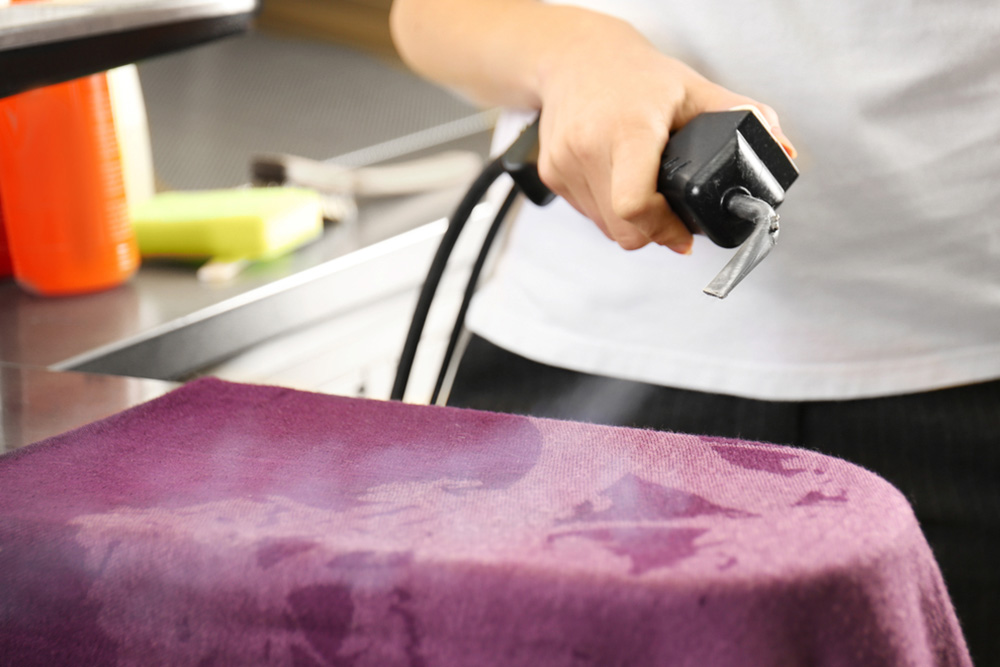
If you cannot remove wrinkles or there is a specific one resisting, see if your iron has a steam function that you can use to loosen the fabric. Press with the iron afterward.
Pants
-
Place your pants on the ironing board and press the iron back to front and bottom to top, starting at the ankle.
-
Start with one leg and then the other, using a circular or wiggling motion.
-
Fold down any creases your pants may have and iron on top.
Dresses
-
Check to make sure all pieces of your dress can be ironed (e.g. remove any belts or materials that would melt with an iron).
-
Start with the collar and use a side-to-side technique to remove wrinkles.
-
Next, iron loose flaps on the reverse edge before moving onto shoulders and sleeves.
-
Lastly, tackle any wrinkles on the body of the dress, starting at the top and working your way down.
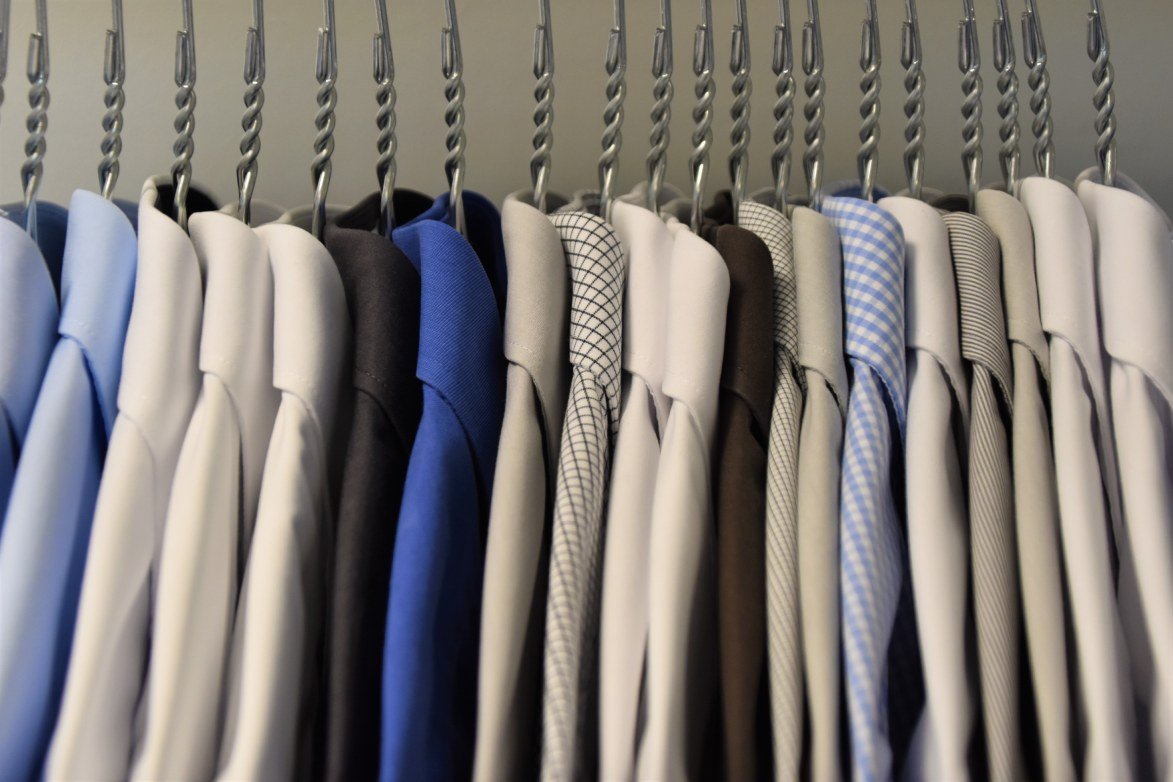
Best Iron Temperature Settings for Each Fabric
While we now know how to iron, the next question becomes what is the ideal temperature to use. The answer is that it depends on the fabric.
While you should always consult the care label of your garment to confirm, below we discuss the most common fabrics and their recommended ironing temperature.
Low Temperature
-
Silk: This fabric is called delicate for a reason! Turn the silk garment inside out and use the lowest possible heat setting on your iron. If available, it is better to steam the piece (either with a steam iron / steamer) than to iron silk. If you are ironing it, do not hold the iron for too long in one place to avoid burning the silk.
-
Acetate: Another delicate fabric that should be ironed inside out and on the lowest heat setting.
-
Polyester: This fabric can sometimes handle medium temperatures, but we recommend playing it safe and using a lower one.
-
Lace: This is a delicate one too – treat it the same way you would approach a silk garment.
-
Rayon: A delicate material that should be ironed like a silk piece.
Medium Temperature
- Wool: Never iron wool directly – use a damp cloth over the fabric and iron on top, making sure you do not press too hard.
High Temperature
-
Linen: It is recommended to iron a linen garment while it is still damp, using a high temperature.
-
Cotton: This fabric is tough to iron and is known for wrinkles that are hard to remove. As such, it is recommended to dampen your cotton dress shirt or garment by lightly spraying water on wrinkles. It is okay to press hard with the iron with cotton.

The Benefits of Ironing Your Clothes
The top reason to iron your clothes, shirts, in particular, is to limit the number of visible wrinkles. It’s definitely embarrassing to be walking around in public with wrinkles on your clothes. And you'll never get a second chance at a first impression so it’s a good idea to make sure you’re not looking too sloppy as you never know who you’ll meet or run into.
Additionally, ironing can help you preserve your clothes. The steam from an iron manipulates the fabric of your clothes so that they soften and return to their original state, thus, extending the lifespan of your clothes and allowing you to wear them longer and more often.
Another benefit of the steam from an iron is that it can help to kill off any germs and mold that may be starting to appear on your clothes, as well as, help to eliminate odors lingering on the fabrics of the garment.
Furthermore, contrary to popular belief, the heat from an iron does not cause shrinkage. In fact, it helps stretch out the fabrics on the garment, which is a good thing as it makes your clothes look crisp and become wrinkle-free.
Now that you know why ironing is important, let’s cover some of the top tips and tricks so you can start ironing like a pro at home.

Ironing Tips & Tricks
-
Spot-check your clothes first: It’s good to inspect your clothes for stains before you iron them as you don’t want to make things worse by pushing stains further into garments as this makes getting the stain out more difficult the next time you clean the item.
-
Confirm your temperature settings: Most modern irons have multiple heat settings and more importantly the care labels on your clothes may have instructions to follow when it comes to selecting the proper heat setting on your iron. Choose the correct temperature setting so that you don’t risk melting or ruining your clothes.
-
Turn pockets inside out: You may not realize it but if you don’t turn pockets inside out you may iron an outline of your pockets into your garment. It’s a simple trick that often gets overlooked.
-
Ensure your iron is clean: Before you start ironing you should check the base of your iron for any pre-existing dirt or stains so that you don’t accidentally iron dirt or starch onto your clothing!
-
Iron the middle seam of your pants: Looking for that professional look with your pants? Put both side seams together but press the leg of your pants down sideways. From here, place flattened the legs of the pants on the board and start to iron applying pressure on the seams. This should create a nice straight line down the legs of your pants.
-
Iron the reverse side of collars, cuffs, and hems first: Turn your shirt collars, cuffs, and pant hems inside out and iron them on the reverse side first. By doing so, you’ll avoid a crumpled look that often happens if you don’t start on the reverse side first.
-
Remember to drain your iron: When you’re done ironing, drain the water to avoid the build-up of calcium, which can get on your clothes and cause unwanted stains.
Ironing FAQs
What fabrics should not be ironed?
Avoid ironing sequins, velvet, decals, or other printed designs that will melt under the heat of an iron. In addition, do not iron clothes that are dirty or stained as the heat will set the stain into the fabric – sometimes permanently.
How to use the steam setting?
Use the steam setting when you want to add dampness to your clothes. This is particularly effective if your garment is not already damp or has tough wrinkles.
How do you prevent burn marks on clothes?
The usual reason why your iron is leaving burn marks is because the iron is dirty. Use a brush to scrub it using a baking soda and vinegar mixture. Use a clean cloth to wipe it off afterward.

Skip Ironing Hassles – Try Rinse Laundry Services
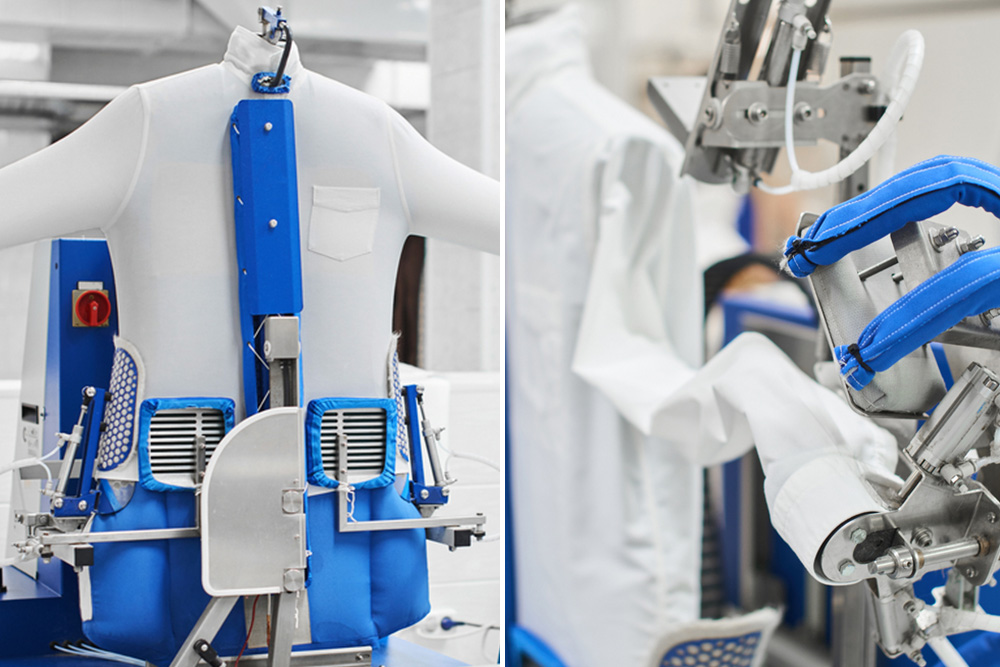
Ironing can be time-consuming, particularly, if you constantly iron your clothes for work each week. While the above tips will help you master the art of ironing at home, you can always outsource the chore to professional dry cleaners (pro tip: Rinse offers Dry Cleaning and Launder & Press!) who not only iron your clothes but properly clean them and treat them for stains.
Either option will give your clothes a professional look and feel and have you looking sharp and feeling confident. But that's not all – Rinse offers pickup and delivery services right to your door. All you have to do is schedule a pickup via our website, text, or our app and we'll come that same evening, any day of the week!
Contact us at Rinse today to see our skill in action.


