Time
Hacks and how-to guides to make life easier.

We aim to guide readers in optimizing their laundry routines for efficiency and convenience. We also provide valuable insights and practical advice to help readers streamline their laundry processes, saving time and effort.
Introduction
Laundry is a seemingly never-ending chore that takes up a considerable chunk of our lives. For many of us, it's a task we approach with a sigh and a sense of resignation – a cycle that repeats with metronomic regularity. Sorting, washing, drying, folding – the steps seem endless, and the laundry room can quickly become a battleground of mismatched socks and a sea of wrinkled clothes.
We all have our laundry horror stories: the red sock that turned a load of whites into a rosy disaster, the battle against stubborn stains that seem impervious to even the most potent detergents, and the mysterious disappearance of socks into the black hole of the washing machine. The laundry room is often where we wrestle with lint, grapple with folding fitted sheets, and embark on epic quests to rescue shrunken sweaters.
But what if we told you there's a way to turn the tide in the war against laundry? What if you could transform your laundry routine from a time-consuming hassle into a streamlined, efficient process? It's not a pipe dream; it's a reality within your reach. This guide will provide valuable insights and practical advice, from tackling tough stains to optimizing your washing machine's settings. We've got you covered.
Laundry Routine 101
Laundry is a task that never seems to end. As soon as you conquer one load, another pile of dirty clothes appears seemingly out of nowhere. You need a well-defined laundry routine to take control of your laundry and make it a more manageable chore. Here are the steps to achieve this.
1. Define a Weekly Schedule
The key to an effective laundry routine is having a clear schedule that fits your lifestyle and household needs. Here are several scheduling options to consider, each with its advantages and drawbacks:
-
One Big Laundry Day: Dedicate one day a week to doing all your laundry at once. This option allows you to forget about laundry for the rest of the week but can be time-consuming and exhausting.
-
Daily Small Loads: Do a small load of laundry every day. This approach keeps the laundry from piling up and prevents the need for a massive laundry day. However, it may not be suitable for those with busy schedules.
-
Category-Based: Assign specific types of clothing to different days of the week. For example, dedicates one day, another to washing towels and bedding, another to clothing, and so on. This approach ensures that each type of laundry gets proper attention, but can still be time-consuming.
-
Person-Based: Divide the laundry routine by person in your household by assigning specific days to each family member. This method distributes the workload but requires more planning and coordination.
Each scheduling option has its merits, and the right one depends on your preferences and daily routine. Consider what works best for your household, and don't hesitate to experiment until you find the optimal schedule. Remember to use laundry baskets to keep dirty laundry organized and easily accessible. Printed labels can be a helpful tool to keep baskets streamlined.
2. Create a Routine that Fits Your Day
One of the most effective ways to optimize your laundry routine is to align it with your daily schedule. Incorporating laundry tasks into your day without causing disruptions can make laundry feel less of a burden. Here's an example of a laundry routine you can try:
-
Preparation Before Bed: Gather all the dirty laundry in a laundry basket before sleeping. Sort it if necessary, separating whites from colors and delicates from regular items.
-
Start the Washer in the Morning: Transfer the laundry from the basket to the washing machine as part of your morning routine. Add the appropriate laundry detergent, and set the washing machine to the desired cycle. This way, the laundry gets cleaned while you go about your day.
-
Move to the Dryer After Completion: Once the washing cycle is complete, promptly transfer the wet clothes to the dryer. Use a dryer sheet to reduce static and wrinkles. Add wool dryer balls to speed up drying time and soften fabrics, if desired.
-
Folding and Storage Before Bedtime: When you have downtime, fold and organize the dried laundry in the evening. Put away clean clothes in their respective drawers or closets.
3. Divide and Conquer
For families or larger households, tackling laundry can be daunting. However, with a strategic approach to dividing tasks among family members or housemates, laundry day becomes a breeze.
Here's how you can divide and conquer laundry tasks effectively:
-
Sorting: Begin by designating someone to handle sorting. This person's responsibility is to separate laundry items by color, fabric type, and care instructions. Sorting ensures that each load is optimized for the best washing results.
-
Washing: Assign the washing duty to one individual. This person loads the sorted laundry into the washing machine, adds the appropriate detergent, soap, or stain remover, and selects the suitable wash cycle. Using a fabric softener or white vinegar can help maintain fabric quality and freshness.
-
Drying: The next team member prepares the clean clothes after they are washed. They transfer the wet laundry to the dryer, cleaning the lint filter before starting the machine. To speed up drying time, consider using wool dryer balls as mentioned above.
-
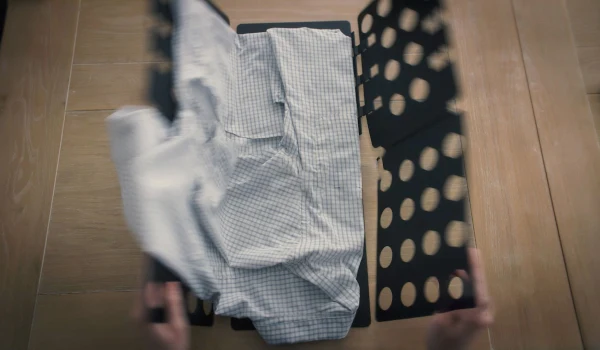
Folding and Ironing: Once the laundry is dry, another member can handle folding or ironing, depending on the specific items. A well-organized drying rack can be particularly useful for delicate items.
-
Putting Away: The final task is putting away the neatly folded or ironed clothes. Each family member can be responsible for returning their clean clothes to their respective drawers or closets.
By dividing laundry tasks this way, you distribute the workload and make the process more efficient. Additionally, it's an excellent opportunity for family members or housemates to work together and share responsibilities. Not only does this approach save time, but it also fosters cooperation among everyone involved.

Simplifying Your Laundry
In the quest to streamline your laundry routine and make it as effortless as possible, one final tip can truly transform your laundry experience: outsourcing your laundry tasks to professionals. With Rinse, you can simplify your life and enjoy the luxury of clean, fresh clothes without the hassle of complex laundry routines. Using Rinse for your laundry needs, you can say goodbye to sorting, front loading, washing, drying, folding, and ironing. Instead, let our experts handle every step of the process, giving you more time to focus on what truly matters in your life.
Here's why Rinse is the solution to your laundry woes:
-
Convenience: Our pickup and delivery services make laundry incredibly convenient. No more trips to the laundromat or dealing with bulky laundry baskets. Just schedule a pickup, and we'll take care of the rest.
-
Professional Care: We treat your clothes with the utmost care. From washing and drying to folding and packaging, our experienced team ensures that your garments are handled with precision and expertise.
-
Time Savings: With Rinse, you can free up hours each week. Imagine what you could do with that extra time – spend it with loved ones, pursue hobbies, or relax and unwind.
-
Customization: We understand that each customer's laundry needs are unique. Whether you prefer hypoallergenic detergents, specific wash temperatures, or special folding instructions, we tailor our service to meet your preferences.
-
Quality Guarantee: We stand behind the quality of our service. If you're unsatisfied with any aspect of your Rinse experience, we'll make it right.
Contact us at Rinse today to see our skill in action.

This article provides insights into a comfortable outdoor experience by understanding the essentials of washing your sleeping bag. Learn the proper techniques for both machine and hand washing, as well as effective stain treatment methods. Discover how Rinse's specialized cleaning services can maintain the longevity and coziness of your sleeping bag for your next outdoor adventure!
Introduction
The backpacking season is around the corner, and your family is one known for adventure. But before you can embark on that great quest, you need to prepare the camping gear.
The sleeping bag is possibly the most essential must-have for an outdoor experience, which is why washing and drying it in time is necessary. Ideally, you should wash it once a year. But if you're a camping enthusiast, you'll need to wash it more frequently.
A clean sleeping bag is not only hygienic but will also provide you with much-needed comfort after a long day of being in the wilderness. Let's teach you how to wash a sleeping bag so that you never have to come back to a sleeping bag with a nauseating blend of body sweat and the remnants of the last trip's mishaps.

Things To Know Before Washing
Sleeping bags are expensive. You don't want to throw hundreds of dollars down the drain (quite literally) by simply throwing a sleeping bag in a front-loading washer and calling it a day.
Instead, check the sleeping bag's label for washing instructions. If your sleeping bag has a down filling, it would need a special detergent. The Nikwax Down Wash is an excellent example since it's mild and won't damage the feathers.
It's okay to machine-wash most sleeping bags. However, don't wash yours in a top-loading machine, especially one with a center agitator. The agitator can damage the sleeping bag's baffles, which are small compartments that lock in the down.
Another thing to keep in mind is not to use a fabric softener. Do not use chlorine bleach, or any bleach for that matter, either. These chemicals affect the bag's water repellency and insulation.
Even if you have a washing machine or dryer at home, you might want to take a trip to the laundromat if your washer's capacity is too small – a sleeping bag needs room to move around.
As for hand washing, it's possible to hand wash a sleeping bag. However, it's a time-consuming process. Be prepared for an hour's worth of grueling work.

How to Machine-Wash a Sleeping Bag
Machine washing a sleeping bag isn't too tricky. Start by gathering the following materials: laundry detergent and tennis balls (or dryer balls). Now, you're all set to follow these steps.
Preparing the Washing Machine
If you're familiar with the washing machine cycles, you're golden. But if you're not, check out our guide here.
For a sleeping bag, set the washing machine on a permanent press or gentle cycle. Since these cycles are relatively gentler, they're perfect for the sleeping bag's delicate materials.
Don't wash anything else with the sleeping bag. Putting other clothes in the machine can cause friction. It also takes up space the sleeping bag needs to move around.
Adding a Suitable Detergent
Choose a gentle, non-bio detergent for your sleeping bag. Avoid using too much because it can build up, creating a breeding ground for mold and malodor. If the sleeping bag has stubborn stains, you can spot-clean them before machine-washing. Just be careful not to overdo it with the detergent.
Most sleeping bags have synthetic insulation. It is made of polyester fibers that are ideal for people with allergies and are relatively easy to clean. A general-purpose detergent can be used here. However, use a gentle laundry detergent if you have a down or natural-filled sleeping bag. Read the detergent label to see if it's suitable for down-filled products.
Using a standard laundry detergent for down-filled sleeping bags can result in clumping. It may also reduce the loft of the sleeping bag, which is a fancy way of saying its air-trapping ability will be lessened.
Washing the Sleeping Bag
Wash your sleeping bag in lukewarm or cold water. The permanent press cycle has a low final spin speed, which helps remove excess water from the sleeping bag. However, if the sleeping bag is still too wet, you can run it through another spin cycle.
Drying the Sleeping Bag
Remove the sleeping bag from the washing machine and put it in the dryer on low heat. You can also put in a dryer ball or a tennis ball to aerate the bag. A dryer ball also prevents clump formation by breaking up the fiberfill.
If you don't have a big enough dryer, you can air-dry your sleeping bag. Lay it out flat or hang it up outside to dry. Reposition it a few times during the day so that it dries evenly.
If you choose to air dry your sleeping bag, make sure it is completely dry before storing it away. Any remaining moisture can lead to mold or mildew growth, which can ruin the bag's insulation and create an unpleasant odor.
How to Hand Wash a Sleeping Bag
You don't necessarily need a washing machine to wash a sleeping bag. If you have a bathtub and no-rinse detergent, you can clean it by hand. Here are the steps:
Preparing the Cleaning Solution
Fill a bathtub with lukewarm water. Alternatively, you can use your little one's pool or a large basin. Add a mild no-rinse detergent, following the manufacturer's instructions.
Soaking the Sleeping Bag
Soak the sleeping bag in the solution, ensuring it is fully submerged. Agitate the bag with your hands so that the detergent can penetrate the fabric and remove dirt and odors.
Let it soak for at least an hour or longer if needed.
Rinsing the Sleeping Bag
Rinse the sleeping bag with clean water until all the soap is removed. You may need to rinse it multiple times to ensure there is no residue left behind.
Don't wring the sleeping bag, though. You'll end up damaging the fabric and possibly ruining the insulation.
Drying the Sleeping Bag
Again, you can dry the sleeping bag outside on a clothesline or a drying rack. If you want to use a dryer, set it at a low heat setting.
When air-drying, do it in a well-ventilated area to avoid mildew growth.
After you've dried the sleeping bag, the next step is to store it properly. For that, you have first to ensure the bag is completely dry. It should not have even a slight dampness to it.
Next, stuff the sleeping bag in the storage sack that came with it, or use a large, breathable bag to store it. It's best to use a mesh or cotton sack.
Make sure the bag is not compressed too tightly, as it can damage the insulation. Store the bag in a cool, dry place away from direct sunlight and extreme temperatures.

Treating Sleeping Bag Stains
When you're out in nature, your sleeping bag is the abode you come back to every night. Your muddy clothes and sweaty skin rub against the fabric. You may even eat in your sleeping bag, and spills are bound to happen. So, it's a mixture of dirt, body oil, food, and beverages soiling the fabric.
It's best to spot-clean these stains before you wash the sleeping bag. An enzyme-based stain remover works well on protein-based stains like sweat and food. Here's how to use it:
-
Rub the solution into the stain with a soft cloth or brush.
-
Let it sit for about 15 minutes, then rinse thoroughly with clean water.
-
Repeat the process if needed.
Some sleeping bags also have waterproof liners. If yours does, you can simply remove the sleeping bag liner and wash it separately.
Oil-Based Stains
For oil-based stains like body oils and lotions, a degreaser works best. A degreaser works by breaking down the oils, making them easier to remove. You can find degreasers at most outdoor or hardware stores. To use a degreaser on your sleeping bag:
-
Apply the degreaser to a soft cloth and rub it onto the stained area.
-
Gently scrub the stain with a soft brush or cloth.
-
Rinse thoroughly with clean water.
Bloodstains
A regular detergent may not do much if there's a bloodstain on your sleeping bag. Use this method instead:
-
Make a solution of two parts water and one part vinegar.
-
Pour it on the stain.
-
Let it sit for 20 minutes.
-
Blot with a damp cloth or rinse with water. Don't scrub the surface, as it may damage the fabric.
-
Repeat until the stain disappears.
Depending on the material your sleeping bag is made of, this method may or may not work. If it doesn't, you can also try this technique:
-
Put the bloodstained area under cold running water and let it soak.
-
Apply an enzyme detergent to the stain and let it sit for 30 minutes.
-
Rinse with cold water and repeat if necessary.
You can use a mixture of hydrogen peroxide and water for tougher stains. In this case, put the detergent onto the stain and then soak it in a tub of water with a cup of oxygen bleach.
Always check the care instructions for your specific sleeping bag before trying any stain-removal method. If you're unsure, spot-test a small, inconspicuous area first to ensure the fabric won't get damaged.

Specialized Cleaning for Ensured Comfort
Washing bulky items like sleeping bags, towels, and bedsheets can be a hassle. It also eats up too much of the time in your day — the time you could instead use for a hike.
Fortunately, professional cleaning services like Rinse can take this task off your hands. Since we understand the art of washing delicate and bulky items, you can rest assured that your sleeping bag will be cleaned perfectly without damaging the fabric.
Remember, keeping a sleeping bag clean is not just important for the aesthetic appeal but for your health, too. A dirty sleeping bag can harbor bacteria, mold, and mildew, causing allergies and respiratory problems. So, it's best to let a professional washing service handle this delicate task.
Even better, you don't have to drop your sleeping bag anywhere. Rinse will come collect it from your doorstep, clean it, and deliver it back to you right when you need it. Convenient, isn't it?
Contact us at Rinse today to see our skill in action.

Introduction
Ensuring a clean and sanitized living space is imperative, especially when recovering from an illness. The bedroom, being a place of rest and recovery, demands particular attention – with a major focus on the bedding. Clean bedding plays a crucial role in preventing the spread of germs, potentially resulting in a faster recovery and ensuring a healthier sleeping environment. When you're sick, your bed can become a breeding ground for bacteria, viruses, and allergens. Sweat, skin cells, and other bodily fluids can contribute to this buildup, creating an environment that can prolong illness and affect overall health. The sheets, pillowcases, and duvet all need proper sanitation to ensure they are free from germs and bacteria.
Keeping Your Bedding Germ-Free
Unclean bedding can be a hotbed for germs and bacteria, which can exacerbate symptoms and prolong the period of illness. Dust mites, bacteria, and fungi can thrive on the mattress, pillow, and linen, especially when they are soiled with sweat, dead skin, and other bodily fluids. Bed sheets and pillowcases can harbor viruses like the flu for several hours or days, depending on the material and environmental conditions. For instance, the influenza virus can survive on bed linen for up to 7 days, making it imperative to clean your bedding promptly.
1. The Risks of Not Washing Your Bedding After Being Sick
Not sterilizing your bedding after an illness can lead to various risks. There's a possibility of re-infection, as the germs and bacteria lingering on the bed sheets and pillowcases can remain active for a significant duration. Allergens can accumulate, potentially leading to asthma attacks or allergy symptoms, further complicating the recovery process. Furthermore, the bed can become a source of infection for others who come into contact with the contaminated linens.
2. The Importance of Prompt and Thorough Cleaning
To ensure that your bedding is free from germs, bacteria, and allergens, prompt and thorough cleaning is necessary. Washing in hot water is crucial, as it helps to kill the majority of germs and disinfect the linen. Using a laundry detergent that contains bleach or hydrogen peroxide can provide an additional layer of disinfecting power. Ensure to set your washing machine to the hottest setting that is safe for the fabric, as higher temperatures are more effective at sanitizing.
After washing, make sure to properly dry the bedding. Using a dryer on a high heat setting helps to kill any remaining germs and ensures that the bedding is completely dry, preventing the growth of mold and mildew. Don’t forget items like pillows and blankets, as they are just as susceptible to germ buildup.
3. Considering Professional Cleaning Services
For a thoroughly sanitized sleeping environment, considering professional cleaning services can be a wise choice. Companies like Rinse specialize in providing top-notch laundry services, ensuring that your bedding is cleaned, disinfected, and returned in pristine condition. We understand the significance of maintaining a germ-free environment, especially post-illness, and employ the highest standards in our cleaning processes. Opting for professional services ensures that every nook and cranny of your bedding is attended to, effectively eliminating lingering germs and bacteria.

How to Wash Bedding After Being Sick
Follow these critical steps and considerations to effectively clean your bedding and ensure a hygienic sleeping environment:
1. Temperature
Using the right temperature setting on your washing machine is crucial when washing bedding after an illness. As mentioned above, for effectively killing bacteria, viruses, and fungi, it is recommended to use the hottest water setting that the fabric can handle. Most laundry detergents work more efficiently in warm water, and higher temperatures help disinfect the bedding more effectively. However, it is important to check the care labels on your bed linens, duvet, and blanket to ensure that the fabric can withstand high temperatures without damage.
2. Detergent and Sanitizing Laundry Additives
Choosing the right detergent and laundry additives is essential for effectively sanitizing your bedding. Opt for a laundry detergent that contains disinfectant properties or is specifically designed to kill germs. Bleach is a powerful disinfectant; however, it’s important to use it cautiously and ensure it is suitable for the fabric you are washing. For those looking for a less harsh alternative, hydrogen peroxide-based detergents can also be effective in eliminating germs and bacteria. Additionally, there are laundry sanitizers available on the market that can be added to your wash cycle to enhance the disinfecting process.
3. Loads
Ensuring that you do not overload your washing machine is key to effectively cleaning and sanitizing your bedding. Overcrowding the machine can prevent the laundry detergent and water from circulating properly, resulting in less effective cleaning. It's best to wash sheets separately from other items and avoid stuffing the machine to its full capacity. This ensures that the hot water and detergent can reach all parts of the sheets, ensuring thorough cleaning and disinfection.

Other Things You Should Wash After Being Sick
1. Clothing and Bedding Accessories
Your regular clothes, blankets, and sheets have likely been exposed to germs during your illness, making it crucial to give them a thorough wash. Same story here – use hot water and a laundry detergent with disinfectant properties to ensure all viruses and bacteria are eliminated. Don’t forget about smaller items like pillowcases and towels, as they are in direct contact with your skin and can harbor germs.
2. Personal Items
Items such as stuffed animals or personal items can be breeding grounds for germs. Wash or disinfect these items according to the manufacturer's instructions. For items that can’t be washed, a good airing out or a wipe-down with a disinfectant can help remove allergens and germs.
3. Mattresses and Pillows
While you can't toss your mattress or pillows in the washing machine, you can still sanitize them. Vacuum the mattress to remove dead skin and dust mites, and consider using a disinfectant spray that’s safe for fabrics. Pillows can often be washed in the washing machine on a gentle cycle using hot water and laundry detergent.
4. Frequently Touched Surfaces
Don't forget about the non-fabric surfaces. Disinfect frequently touched areas such as door handles, light switches, and remote controls. Use a suitable disinfectant to kill any lingering germs.
Incorporating these cleaning practices post-illness ensures that you create a sanitized, safe environment, reducing the risk of allergies, asthma attacks, or reoccurring sickness. Give everything a good clean and enjoy a healthier recovery and a fresher living space.

Maintaining Cleanliness for a Speedy Recovery
Key cleaning takeaways include:
Bedding and Linens
Use hot water and a high-quality laundry detergent for your bed linens, duvet, and sheets, preferably one that contains disinfectant properties or additives like hydrogen peroxide that are known to kill viruses and bacteria. If you’re dealing with stubborn stains or areas soiled with sweat or other bodily fluids, pre-treat these areas before tossing them in the washing machine.
Mattresses and Pillows
Vacuum your mattress to remove dead skin, dust mites, and other allergens. For pillows, check the care label to see if they can be washed, and use the appropriate settings if they can. If not, airing them out in the sun can help to sanitize and freshen them up.
Beyond the Bedroom
Any dirty or soiled items in the vicinity, such as clothing and personal belongings, should also be thoroughly cleaned. Ensure all frequently touched surfaces in your home are disinfected to prevent the spread of germs.
Professional Cleaning Services
For those who want to ensure a thorough cleaning or perhaps don’t have the time or energy to do it themselves, professional cleaning services like Rinse offer a convenient and effective solution. Rinse specializes in sanitizing and deep cleaning bedding, towels, and clothing, ensuring that everything is washed, dried, and returned to you in pristine condition. This not only helps in creating a germ-free environment but also aids in alleviating symptoms of allergies and asthma caused by dust mites and other allergens.
Implementing these cleaning practices ensures that you are not just cleaning but actively sanitizing your living space, creating a safe and clean environment conducive to recovery!
Contact us at Rinse today to see our skill in action.

Have laundry or dry cleaning to do?
Rinse picks up, cleans and delivers 7 days a week. Amazingly awesome. Ridiculously simple.

This article shares the recipe for creating your first homemade laundry detergent. It highlights the eco-friendly edge and skin-friendly benefits, making this a go-to option for those with sensitivities and allergies. Follow this guide for a seamless creation process, and don't forget to add your signature touch with essential oils. Get ready to revolutionize your laundry routine with Rinse!
Introduction
The surge in popularity of laundry detergent made at home reflects a broader shift towards natural and eco-friendly cleaning products. More and more people are recognizing the benefits of crafting their own cleaning solutions, not just for cost savings but also for the ability to tailor the detergent to their preferences. In this guide, we'll walk you through the process of making your very own homemade laundry detergent, highlighting its affordability and customization options. Join the ranks of those revolutionizing their laundry routine with Rinse!
Why Make Homemade Laundry Detergent?
When it comes to laundry detergents, the options lining store shelves seem endless. However, the choice isn't always clear-cut, especially for those who prioritize eco-friendliness and skin-friendliness. This is where homemade laundry detergent steps in, offering a host of advantages that are worth exploring.
1. Eco-Friendliness:
One of the primary advantages of crafting your laundry detergent is its positive impact on the environment. Unlike commercial detergents, homemade versions typically use fewer harsh chemicals and are often biodegradable. This eco-friendly edge ensures that your laundry routine doesn't harm the planet.
2. Reduced Exposure to Chemicals:
For individuals with sensitive skin or allergies to certain fragrances and chemicals, commercial laundry detergents can be problematic. Homemade detergent allows you to tailor the formula to your specific needs. By carefully selecting ingredients, you can minimize exposure to potentially irritating or harmful substances.
3. Customization:
Perhaps one of the most appealing aspects of homemade laundry detergent is its customizability. You have the freedom to experiment with different ingredients and scents, ensuring that your laundry smells just the way you like it. From choosing essential oils to adjusting the detergent's strength, the possibilities are endless.
4. Cost-Efficiency:
Homemade laundry detergent is not only skin-friendly and eco-friendly but also budget-friendly. Many of the ingredients required are cost-effective and can last for numerous laundry cycles. Creating your detergent at home can lead to substantial savings over time.
5. Tailored to Your Preferences:
When you make your laundry detergent at home, you're the chemist. You get to choose the ingredients and their quantities, giving you complete control over the formula. This allows you to create a detergent that caters to your preferences. Whether you prefer a particular scent or a specific level of cleaning power, homemade detergent can be customized accordingly.
6. Ideal for Sensitive Skin:
People with sensitive skin often struggle with commercial detergents, which may contain harsh chemicals and fragrances. Homemade detergent offers a gentler alternative. By selecting skin-friendly ingredients and avoiding irritants, you can ensure that your laundry is kind to your skin.
7. Allergen-Free Options:
Allergies to specific chemicals or fragrances are not uncommon. With homemade detergent, you can eliminate potential allergens and create an allergen-free solution. This is particularly crucial if you or your family members have known allergies or sensitivities.
8. No Unwanted Additives:
Commercial detergents may contain additives that you'd rather avoid. By making your detergent, you can say goodbye to unwanted ingredients and chemicals. This provides peace of mind, knowing exactly what goes into your laundry.
In the subsequent sections of this guide, we'll delve into the step-by-step process of making your homemade laundry detergent. We'll explore the essential components, such as Fels-Naptha soap, baking soda, and more. Say goodbye to commercial detergents with questionable ingredients and join the ranks of those who have embraced the DIY laundry revolution.

What You'll Need
Creating your DIY laundry detergent is a relatively straightforward process that requires a few key ingredients and materials. Let's dive into what you'll need to get started:
-
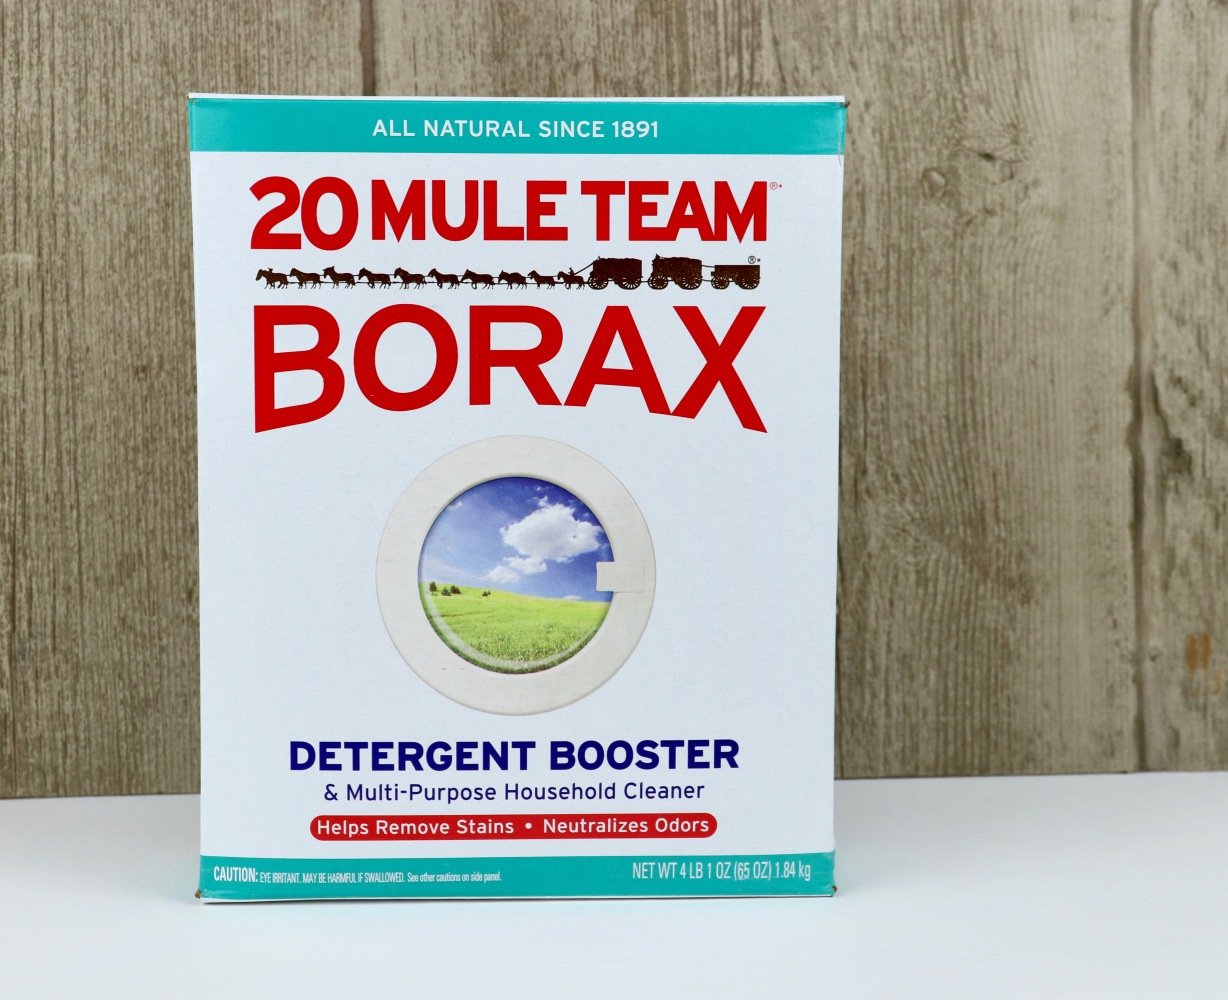
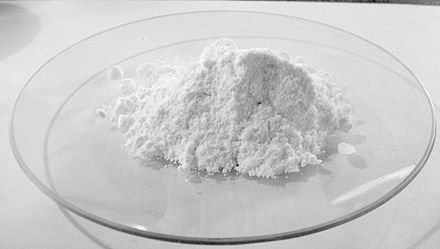
Borax (1 cup): A natural mineral, is a staple ingredient in many DIY detergent recipes. It enhances the cleaning power of your detergent and helps break down stains and odors effectively.
![unnamed file]()
-
Washing Soda (1 cup): Also known as soda ash or sodium carbonate, is another essential component. It acts as a water softener, aiding in the cleaning process and preventing mineral buildup in your washing machine. Note it is not the same as baking soda. You will require 1 cup.
![unnamed file]()
-
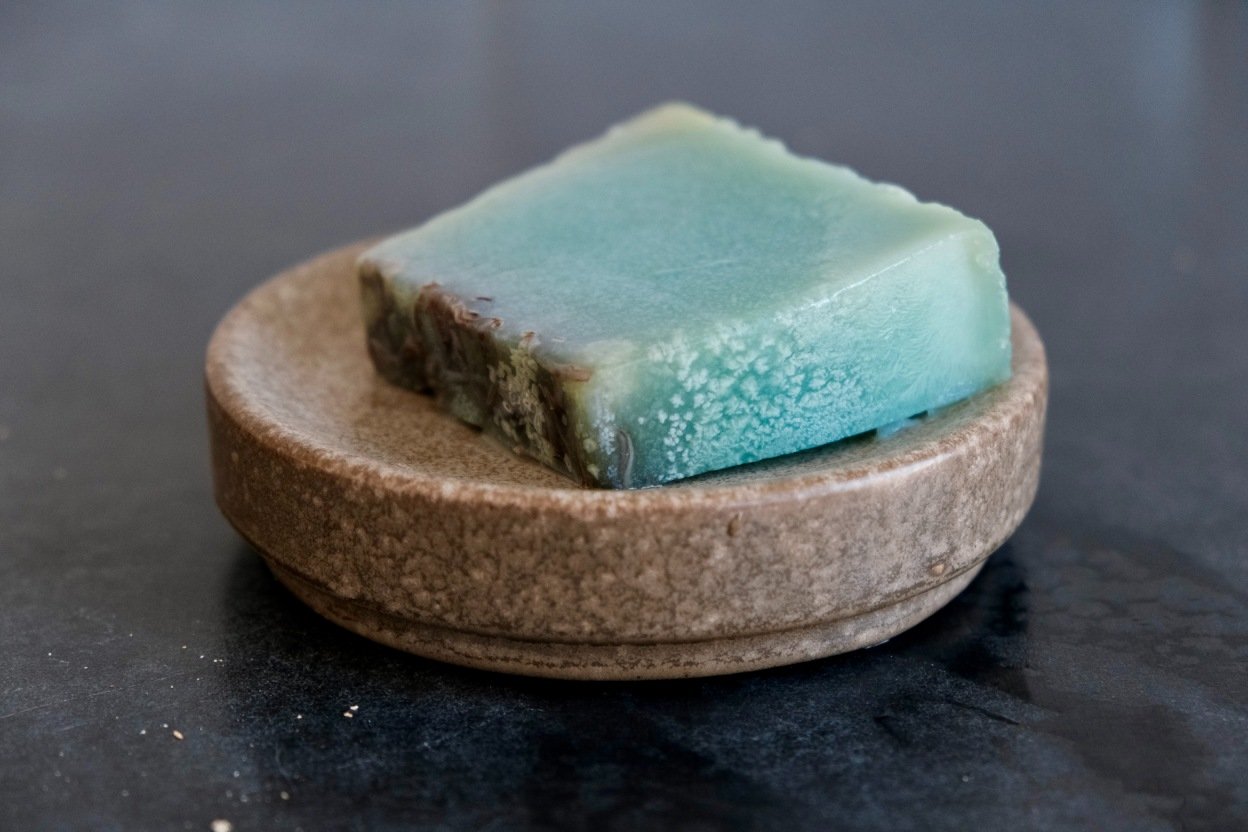
Pure Bar Soap or Castile Soap (1 cup): The soap component provides the cleaning action in your detergent. You can choose from a variety of options and brands, including Fels-Naptha, Zote, Castile soap, or other pure bar soaps. Each brings its unique scent and properties to your detergent.
![unnamed file]()
- Water (15 cups): While you can use tap water, distilled water is ideal as it does not contain any contaminants.
-
Essential Oils (Optional, 50 drops): Adding essential oils is entirely optional but allows you to customize your detergent's fragrance. Lavender, eucalyptus, lemon, or tea tree oil are popular choices. These oils can also impart antibacterial properties to your detergent.
-
OxiClean (Optional): For an extra cleaning boost, you can include OxiClean or a similar oxygen bleach product. This is particularly helpful for tackling tough stains and brightening whites.
-
Powdered Laundry Detergent Container: You'll need a container to store your powdered detergent. Ensure it's airtight to prevent moisture from affecting the quality of your detergent.
You will also need a large saucepan that can hold 15 cups of liquid, as well as a storage jar (1 gallon-size).
Now that you know what you'll need, let's move on to the step-by-step process of creating your homemade laundry detergent. With these ingredients in hand, you're well on your way to a more eco-friendly, skin-friendly, and cost-effective laundry routine.
How to Make Laundry Detergent at Home
1. Boil the Water
Boiling water is the first step in creating your homemade laundry detergent, and it serves a crucial purpose in the process. By boiling water, you ensure that all the ingredients mix effectively, creating a uniform detergent mixture.
Start by boiling 6 cups of water in your saucepan. Exercise caution, and make sure to handle boiling water carefully.
2. Measure and Mix the Ingredients
Add the cup of Borax and the cup of washing soda, stirring them together as they dissolve in the boiled water. Add 9 cups of room-temperature water and your cup of soap. Mix them all together.
3. Let It Cool Down
After combining the ingredients, it's essential to allow the mixture to cool down. This cooling period is necessary for the detergent to reach the desired consistency. Wait 5-10 minutes and then transfer the soap into your gallon-sized jug. If your jar is not heat-safe, wait until the soap has fully cooled down.
4. Add Essential Oils for Scent
One of the joys of making homemade laundry detergent is the opportunity to customize the scent. Essential oils are a popular choice for adding a delightful fragrance to your detergent. Lavender, eucalyptus, lemon, and tea tree oils are some examples of essential oils commonly used for laundry purposes.
The quantity of essential oils you add can influence the strength of the fragrance and is fully up to you, but we recommend 50 drops.
5. Store Properly
To maintain the quality and effectiveness of your homemade laundry detergent, proper storage is crucial. Make sure your container is airtight to prevent moisture from affecting the consistency of your detergent and to preserve its fragrance and cleaning properties.
By following these steps, you'll create a homemade laundry detergent that is both eco-friendly and skin-friendly, making it an excellent choice for individuals with sensitivities and allergies. Enjoy the benefits of this DIY approach to laundry!
Embracing Sustainability with DIY Laundry Detergent
As you've embarked on the journey of creating your homemade laundry detergent, it's crucial to recognize the remarkable sustainability benefits that come with it. This eco-friendly alternative not only cleans your clothes effectively but also contributes to a greener and cleaner planet.
- Environmental Impact: One of the primary reasons people turn to DIY laundry detergent is to reduce their environmental footprint. Commercial laundry detergents often contain chemicals that can harm aquatic ecosystems when washed down the drain. Homemade detergent recipes use eco-friendly ingredients, minimizing their impact on the environment.
- Reduced Packaging Waste: When you make your detergent at home, you're also reducing packaging waste. Think about all those plastic bottles and containers that commercial detergents come in. By reusing the same container for your homemade detergent, you significantly cut down on plastic waste.
- Customization for Sustainability: Another remarkable aspect of making your laundry detergent is the ability to customize it. You can experiment with different ingredient combinations and scents to find a formula that best suits your laundry needs while aligning with sustainability goals.
A Final Thought
Incorporating homemade laundry detergent into your laundry routine is a small but impactful step toward a more sustainable lifestyle. As you strive to reduce your carbon footprint, every eco-friendly choice matters.
While DIY detergent is a fantastic option, if you're looking for a hassle-free way to embrace sustainability in your laundry routine, consider Rinse. Rinse offers a sustainable and convenient laundry solution that ensures your clothes are cleaned with care for the environment. It's an excellent alternative for those who want eco-conscious laundry without the DIY effort.
So, whether you choose to continue making your detergent at home or explore using Rinse, remember that your laundry choices can play a part in creating a greener future for all of us.
Contact us at Rinse today to see our skill in action.

Uncover the benefits of a well-organized chore list for fostering household efficiency and harmony. From daily bed-making to monthly deep cleaning, we got you! Explore the different types of tasks, including laundry, cleaning, and organization, and learn how to streamline your chore management to find more time to focus on the essentials.
Introduction
Household chores seem to be a never-ending life task that is more overwhelming than tedious. It doesn't take too long to get your home in order, but just seeing a mess and disorder can make you want to procrastinate for as long as humanly possible.
But procrastination is not the solution. Instead, if you make a well-organized chore list, you can tackle all your household tasks more effectively.
Think of it like a to-do list but for house chores. It could include your cleaning schedule, a weekly grocery run, laundry, daily vacuuming, floor scrubbing, lawn upkeep, tending to the garden, etc.
Below, we provide a chore list that you can use as a reference or inspire you to create one for yourself. Trust us on this – the more efficient you are, the more extra time you can have for yourself.
Why You Need a Household Chores List
You have a house to maintain, a toddler to look after, and a part-time job in the evening. How do you manage? Surely not with a haphazard schedule in your head that leaves you feeling overwhelmed and unmotivated.
A chore list could be just the solution. It shows you all the tasks you need to do on paper, lowering your mental burden. Instead of having to remember every house chore you need to do, you can just refer to your list.
Plus, marking off items on a to-do list is just so endorphin-boosting! The more chores you tick off, the better you feel.
The most notable benefit of a chores list is that you can delegate tasks. Now that there's a log highlighting what needs to be done, you don't have to do everything alone.
For example, you can delegate certain tasks to your partner. Then, share tasks with your children, too. Everyone can pitch in – yes, even your preschooler. Some age-appropriate chores for your little one include picking up toys, setting the table, wiping counters, and helping with laundry. It's also great parenting because you're teaching them a life skill.
A house chore list also ensures the timely completion of all tasks. You won't have laundry on your chair from two weeks ago or dishes gathering mold in the sink. If you follow the cleaning checklist, you'd have accomplished every task on the list by its respective timeline.
Finally, a chore chart reduces stress – there's less for you to worry about. You know what needs to be done and who's responsible for each task. Everything goes well this way.
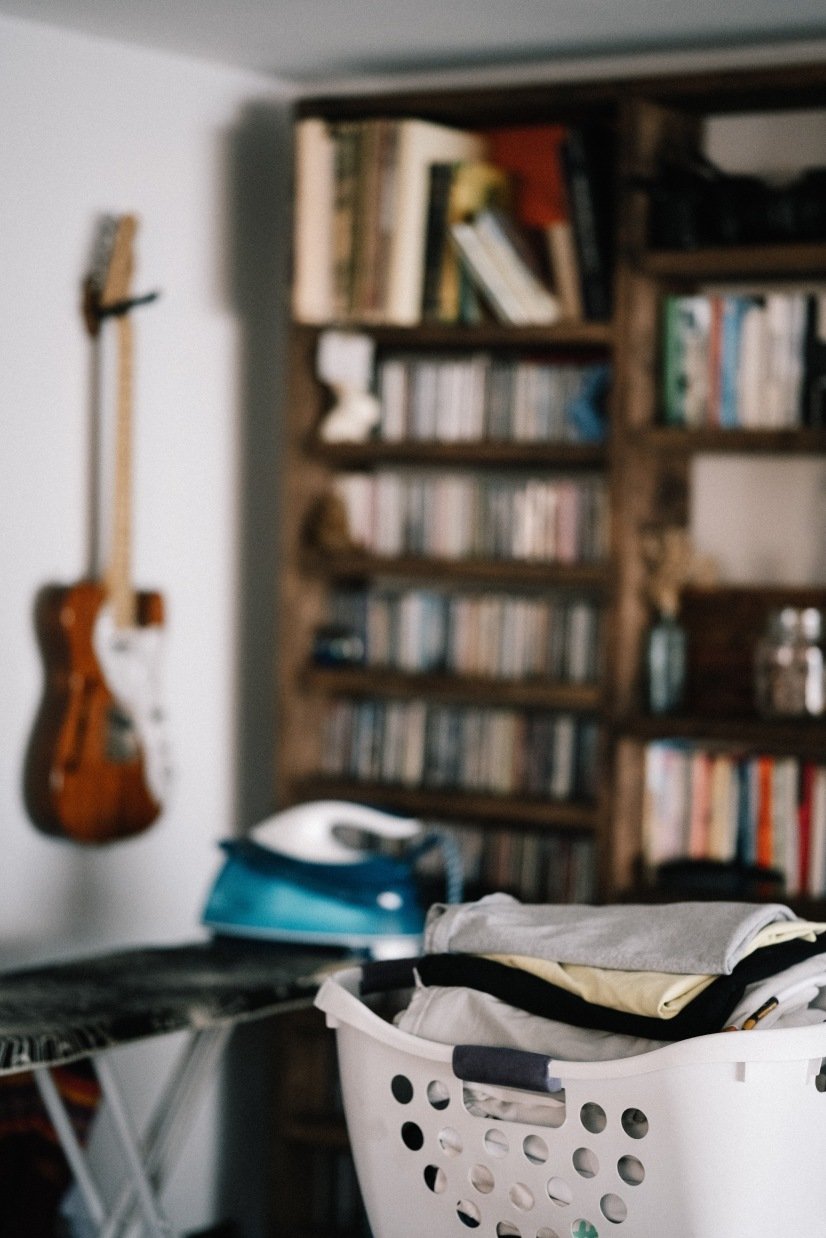
The Frequency of Household Chores
You have to make your bed daily and declutter the kitchen daily. But you don't have to put away the groceries every day. Similarly, your home may need a deep clean every month, but light cleaning is an everyday chore.
So, when making a chore chart, distribute tasks by frequency. Which ones do you need to do daily? Which are done weekly or monthly? Let's look at each type individually.
List of Daily Chores
These are the household chores you need to do daily. Here's a daily chores list to consider:
-
Making the beds
-
Washing the dishes
-
Sweeping the floors
-
Taking out the trash
-
Wiping down countertops and surfaces
-
Packing school lunches
-
Meal prepping
-
Walking the dog(s)
-
Feeding the pets and providing them with fresh water
-
Decluttering living spaces
-
Checking the mail
These are just the tasks included in housework. Some tasks are personal, too. For example, if you go to college, your additional chores may be to sort your books and notes. If you have a toddler, you may be in charge of their bath time and nightly reading session.
The key to completing daily household chores is to make them a habit. If you can make them part of your routine, it'll be easier to keep up with them. For example, you can make your bed as soon as you wake up or wash dishes right after each meal.
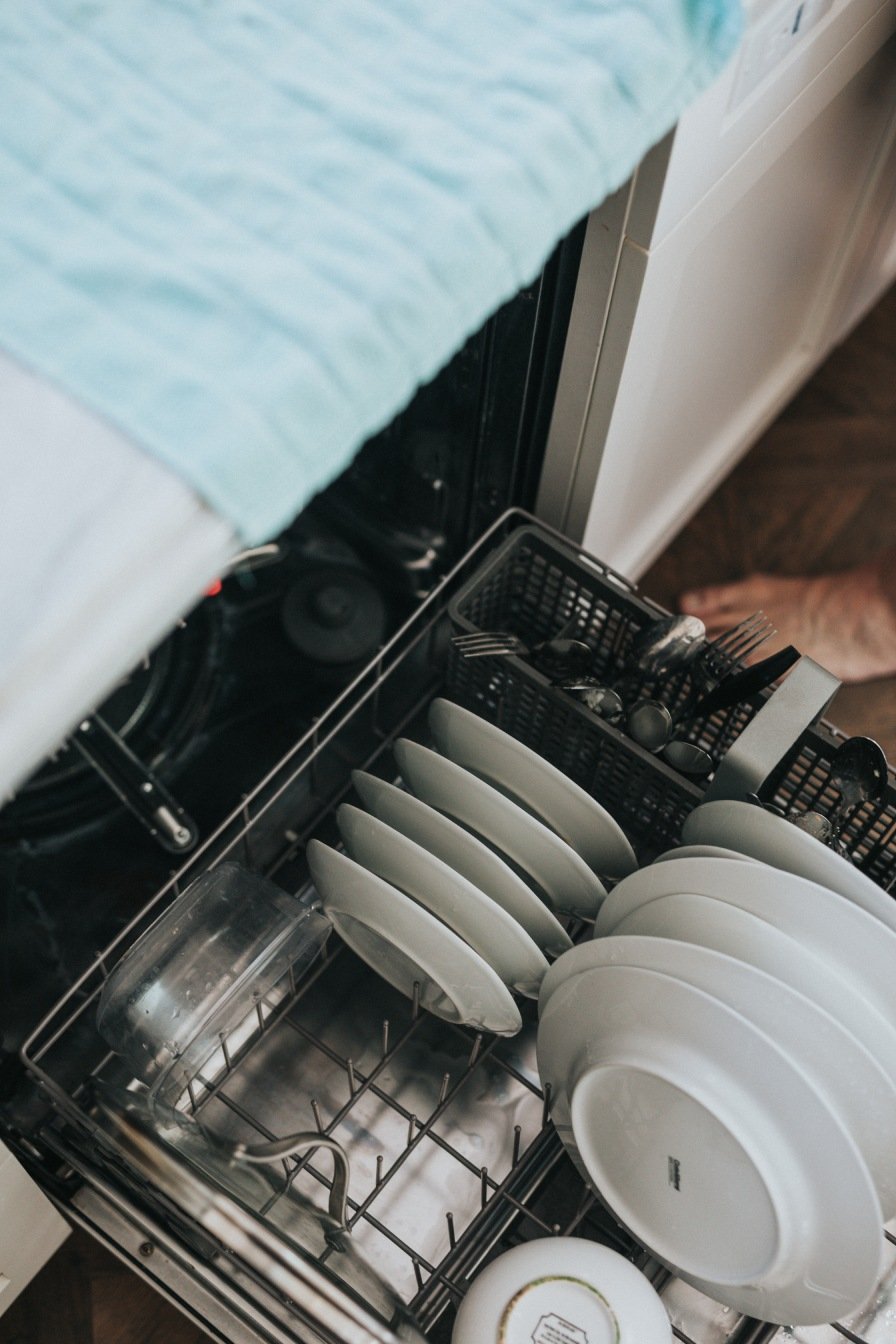
List of Weekly Chores
Here are the tasks you need to do every week:
-
Cleaning the bathroom(s)
-
Doing laundry
-
Grocery shopping
-
Watering plants
-
Mowing the lawn
-
Changing towels and bed sheets
-
Dusting window sills and shelves
-
Mopping floors
-
Spot cleaning upholstery
-
Vacuuming carpets and rugs
These chores require more time and effort compared to daily tasks. However, it's best to break them down into smaller tasks throughout the week. For example, you can do laundry on a specific day, clean the bathroom on another day, and so on.
Don't try to do all these tasks on the weekend. You won't find time to relax if you do.
Involve the whole family in weekly tasks. One person does the grocery, the other takes it out of the car, and another puts it away in the fridge and pantry.

List of Monthly Chores
The monthly chore list includes the following:
-
Deep cleaning the fridge, oven, and microwave
-
Clearing out the pantry and fridge of expired items
-
Washing mirrors, windows, and doors
-
Cleaning ceiling fans and light fixtures
-
Dusting furniture
-
Washing curtains, bedding, and pillows
-
Disinfecting and cleaning garbage bins
-
Bathing the dogs and other pets
-
Vacuuming the car
If you have a garden, you may also want to weed it out and prune plants at least once a month. You might also have to sweep the pathways around the garden, so that's another chore on your list.
Besides garden care, you should also perform vehicle maintenance every month. For instance, clean your car, both inside and outside. Change the oil if needed. Also, check tire pressure and refill any fluids as required.
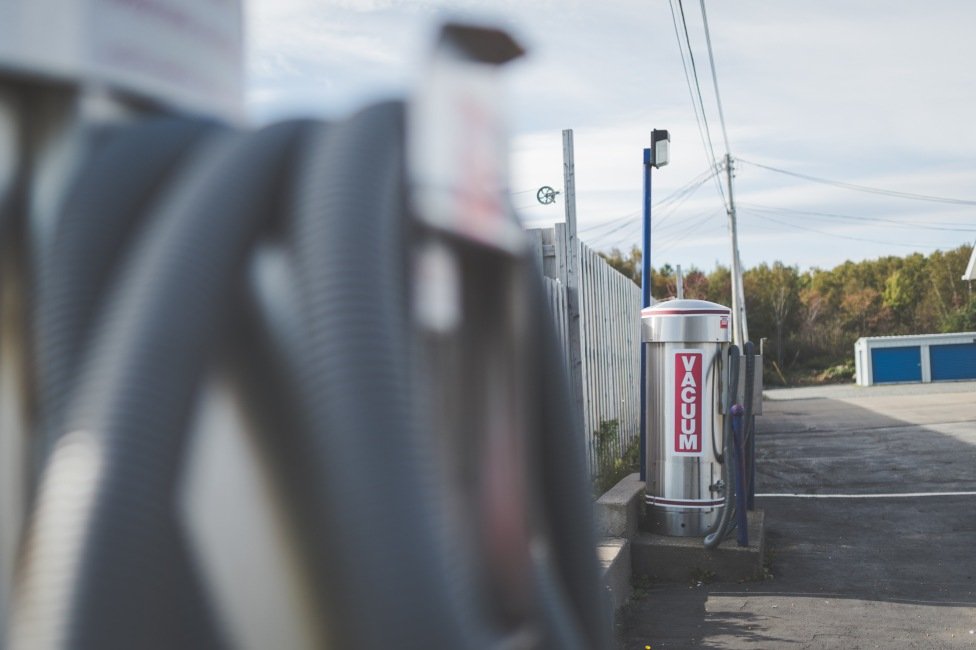
Household Chores by Type
Besides frequency, you can also categorize household chores by type. Some types include deep cleaning, laundry, organization, child care, shopping, etc. People with special needs or large families may also have to do additional chores, such as administering medication or preparing meals.
Again, you can create your lists based on your needs. Here's our standard list as a reference.
Laundry Chores
These are all the chores related to laundry:
-
Sorting laundry and pretreating stains
-
Washing, drying, and folding clothes
-
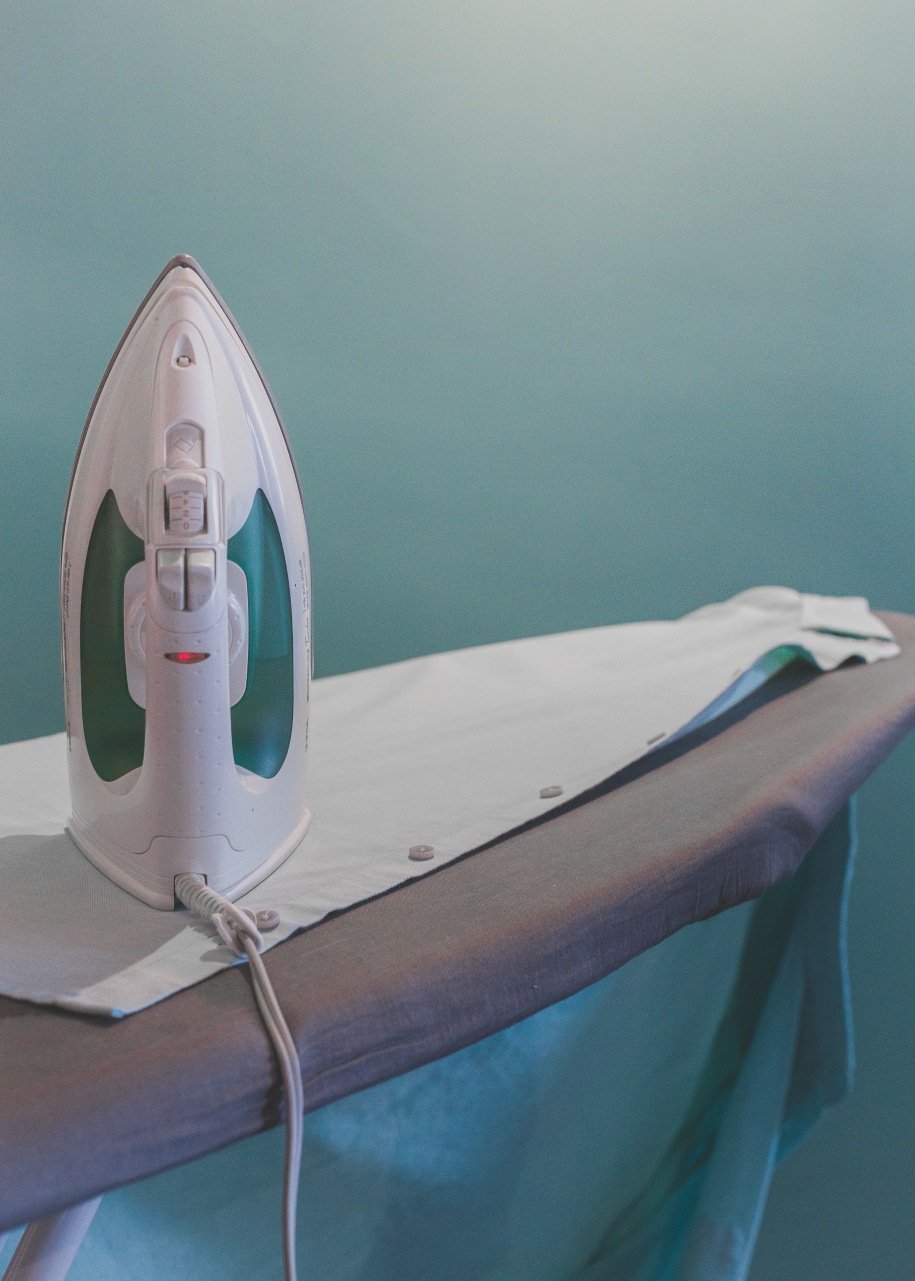
Ironing garments
-
Storing clean clothes
- Keeping laundry room organized
How many and how often you do these tasks depends on how many people live in your house. Some families prefer to do one load of laundry each day, while others choose a specific day for all their laundry.
You may have additional laundry chores if you're an adventure enthusiast or if you have a baby. For example, if you camp or hike a lot, you'll have your gear and sleeping bag to wash. Parents with babies will have to wash bibs and extra baby clothes.
Cleaning Chores
Here are some standard cleaning chores:
-
Mopping and sweeping the floors
-
Scrubbing the toilets, sinks, bathtubs and showers
-
Dusting shelves and surfaces
-
Cleaning windows and mirrors
-
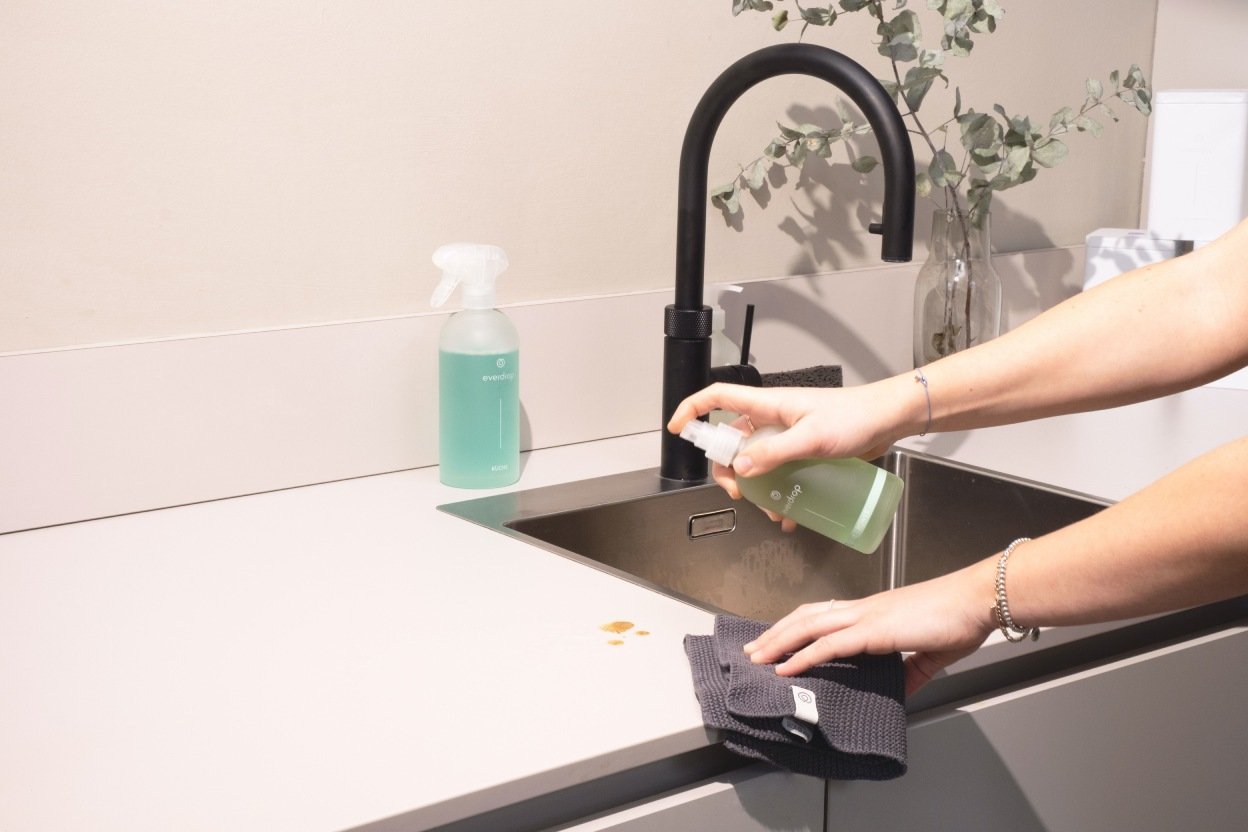
Cleaning the kitchen (countertops, stovetop, oven, microwave)
-
Taking out the trash and recycling
-
Sanitizing high-traffic surfaces like doorknobs, light switches remotes, and door handles
The cleaning chore chart should be on the fridge. Print out a new one every week or month based on your cleaning frequency. Specify things like how often to sanitize dirty surfaces, dust shelves, wipe counters, or tidy up the kitchen. Also, write the names of the people responsible for those tasks before the chore.
Or, you can create a Google Sheet and share it with your family or roommates. Make sure everyone updates their progress regularly.
Organization Chores
These are more involved and happen less often. But then again, it all depends on your lifestyle. If you have kids or pets, you'll be organizing something pretty much every day. Similarly, if you're a neat freak, this might be your daily grind.
Some organization chores include:
-
Organizing the drawers and closets, including kitchen cabinets
-
Sorting through piles of clutter and paperwork
-
Rearranging furniture
-
Donating or selling unused items
-
Putting away seasonal clothing and decor
-
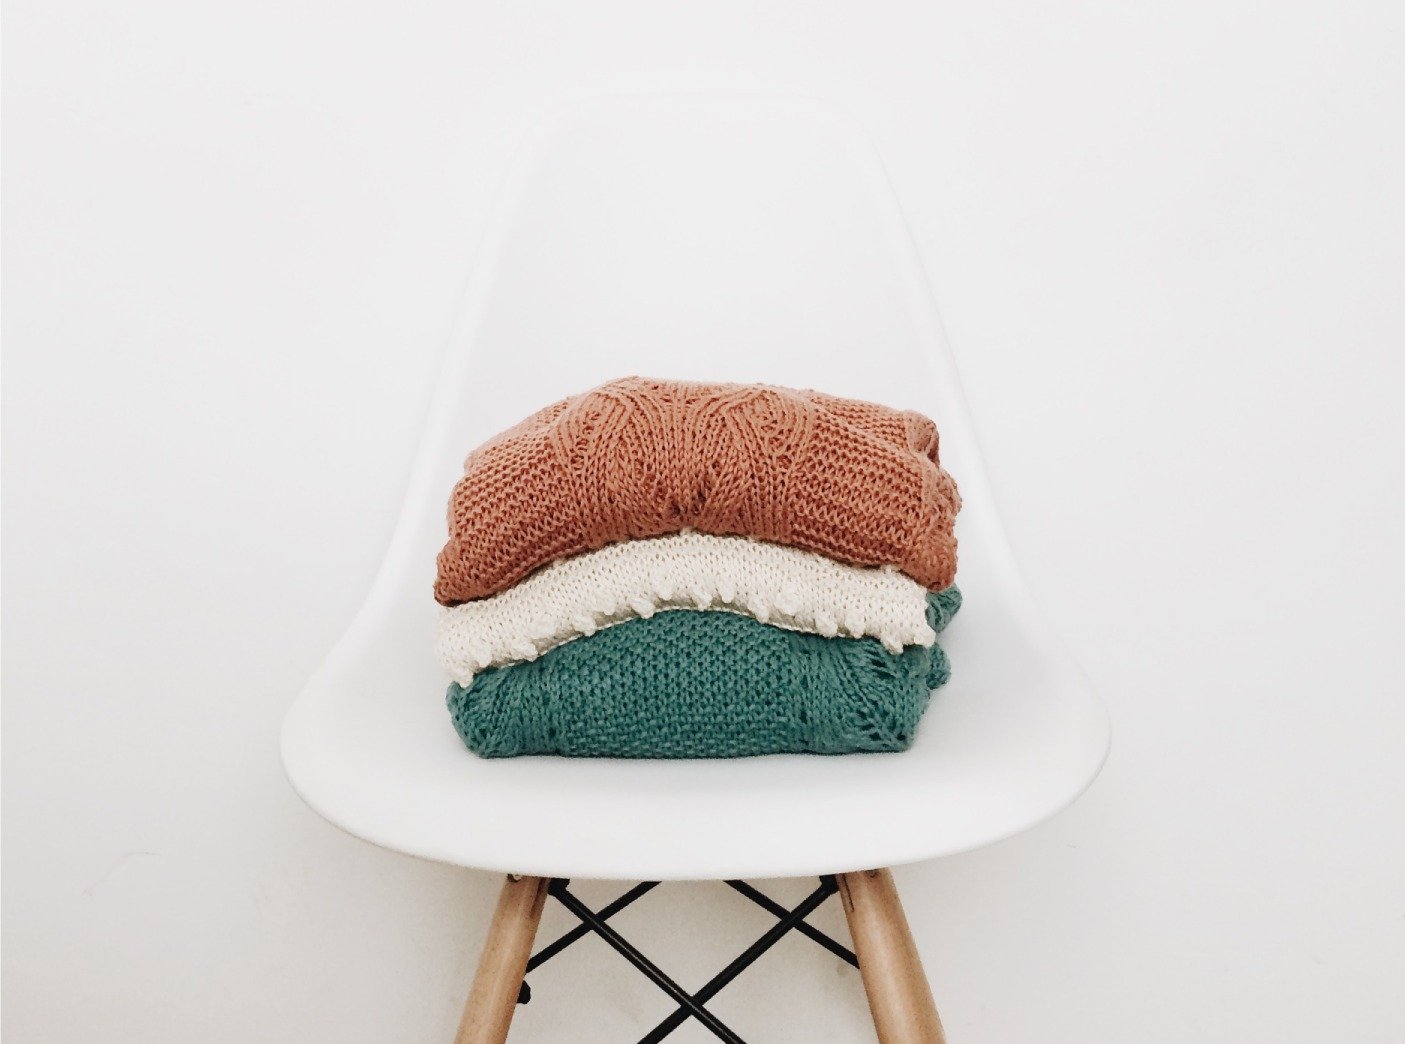
Labeling storage containers to find what you need easily
As you can see, organization chores aren't something you'd do daily. You can do them on a free weekend or during holidays when you have more time.
Depending on your lifestyle, it's best to let everyone do their own set of organization tasks. For example, if you have grown kids, they should organize their closets themselves. After all, they're the ones who have to scour through their stuff when looking for something.
Likewise, the person who cooks in the house should be responsible for organizing the kitchen cabinets and pantry. It will make their cooking process much smoother and faster if they know exactly where everything is.
Everyone should make bags of items they want to donate. Then, one person can drop them off at the donation center.
When you work together, things get done faster. It's not only unfair for one person to do everything, but it also creates chaos. Plus, the person responsible for everything will always be stressed and overwhelmed, which is a huge no-no.

The Secret for a Clean, Organized Home
Having said all that, it's quite clear that proper organization is the key to a well-managed home. Having and following a chore list just makes things easier and more manageable. It also reduces your mental and emotional toil.
Every once in a while, it helps to outsource your chores. There's nothing wrong with taking a break or treating yourself to a cleaning service or professional organizer. For example, if you've had a long week and don't want to mop, scrub the baseboard, clean the dishwasher, or vacuum the carpet, you can hire someone to do it for you.
Similarly, when you're creating a spring cleaning checklist for your home, see if there are tasks you can outsource. For example, you can hire professional laundry services for washing bedding, curtains, seasonal clothes, towels, etc.
Rinse is a professional laundry service that picks up laundry from your doorstep and drops it there afterward. Thanks to Rinse's expertise in washing all sorts of fabrics and items, you don't have to worry about your whites getting stained or the down in your comforters getting ruined.
Contact us at Rinse today to see our skill in action.

Learn about the sustainable magic of dryer balls as an efficient, chemical-free alternative to traditional fabric softeners and dryer sheets. This article explains their composition, functionality, and benefits and shares best practices for utilizing them effectively in your laundry routine. Simplify your laundry care while embracing a more sustainable approach with Rinse.
Introduction
In the realm of laundry, innovation often takes center stage in the quest for efficiency, sustainability, and eco-friendliness. One such novelty that has been making waves is the humble, yet remarkable dryer ball – an eco-friendly and efficient alternative to traditional fabric softeners and dryer sheets.
These tennis ball-sized wonders are alluring in their simplicity and sustainability. Unlike conventional laundry products, dryer balls offer a chemical-free and environmentally conscious approach to laundry care.
With the ever-increasing emphasis on sustainable living and eco-conscious choices, interest in adopting greener laundry practices is also rising. This is where dryer balls enter the spotlight. They are at the forefront of a laundry revolution that prioritizes both the well-being of your clothes and the health of our planet.

What are Dryer Balls
Wool dryer balls are simple yet ingenious laundry aids can be made from natural materials such as rubber, but wool is most common. The latter material is very effective due to its exceptional properties: absorbency, durability, and ability to withstand heat.
The wool yarn is expertly wound and felted to create compact and dense spheres. This process results in the formation of solid and smooth balls that are gentle on clothes. The absence of chemicals and additives makes them a healthy choice for your laundry, with brands such as Woolzies and Friendsheep specializing in this department.
How Do Dryer Balls Work
But how do these unassuming balls of wool or rubber work their sustainable magic? The secret lies in their role during the drying process. As your laundry tumbles in the dryer, the dryer balls come into action. They create space between your clothes, preventing them from sticking together and facilitating better air circulation.
This enhanced air circulation leads to more efficient drying, ultimately reducing the time needed in the dryer, and therefore, energy consumption. As your clothes dance with the dryer balls, they also experience gentle agitation, which helps prevent the formation of wrinkles and the annoying problem of static cling.
Incorporating dryer balls into your laundry routine means saying goodbye to the need for fabric softeners or dryer sheets. They naturally fluff and soften your clothes, leaving them with a fresh, clean scent, but leave out the synthetic fragrance.
For those with sensitive skin or a preference for unscented laundry, dryer balls are a game-changer. They eliminate the need for chemical-laden products, ensuring that your laundry comes out soft, static-free, and smelling like nothing but clean.
How to Use Dryer Balls
As we dive deeper into the sustainable wonders of dryer balls, it's crucial to understand not only what they are but also how to effectively incorporate them into your laundry routine. Here's how to make the most of them:
-
Load Size Matters: The number of dryer balls you use should align with the size of your laundry load. For small loads, two to three dryer balls are usually sufficient. For larger loads, consider adding more to ensure that every garment benefits from their magic.
-
Fabric Compatibility: While dryer balls are versatile, they perform best with natural fibers like cotton and wool. These fabrics tend to benefit most from the gentle agitation and enhanced air circulation provided by the dryer balls. For synthetic fabrics, you can still use dryer balls, but the results may vary.
-
Desired Softness: Achieving the level of softness you desire is within your control when using dryer balls. If you prefer extra softness, simply add a few drops of your favorite essential oil to the dryer balls before use. This way, your laundry not only comes out soft but also lightly scented with a fragrance you love.
-
Different Types of Laundry: Dryer balls are versatile enough to work well with various types of laundry. For towels and bedding, which tend to get stiff, dryer balls are a true hack. They help maintain the fluffiness of your towels and bedding, leaving them soft and inviting.
-
Efficient Circulation: To maximize the effectiveness of dryer balls, ensure that your laundry load is well-balanced weight-wise. A balanced load allows the dryer balls to circulate freely among your clothes, creating the necessary space for optimal air circulation and efficient drying.
Benefits of Using Dryer Balls
Now that we have a handle on what dryer balls are and how to use them, here are some additional benefits they provide for your laundry:
-
Preventing Wrinkles: Dryer balls aren't just about fluffing your laundry; they also help prevent wrinkles. As they tumble alongside your clothes in the dryer, they create space between the garments. This space allows for improved airflow, reducing the likelihood of clothes getting tangled and wrinkled. The result? Smoother, wrinkle-free laundry.
-
Minimizing Drying Time: One of the standout benefits of dryer balls is their ability to shorten the time spent in the clothes dryer. As mentioned above, they help create separation between your clothes, allowing an enhanced airflow that lets your laundry dry more efficiently. It is not just time you're saving, but also money as your utilities bill will come out lower.
-
Softening Fabrics Naturally: Perhaps one of the most appreciated advantages of dryer balls is their natural fabric softening ability. Without the need for chemical-laden fabric softeners or dryer sheets, these sustainable wonders soften your clothes by gently agitating them during the drying process. The result is garments that are soft, fluffy, and comfortable against your skin.
-
Cost-Effectiveness: Dryer balls are an economical choice for your laundry routine. Unlike single-use dryer sheets, which need frequent replacement, dryer balls are durable and reusable. A set of dryer balls can last for numerous laundry cycles, making them a cost-effective choice in the long run.
-
Eco-Friendly and Reusable: One of the remarkable benefits of dryer balls is their eco-friendliness. They are typically made from materials like wool, which is biodegradable and compostable. Plus, they are reusable, which means you can enjoy their benefits for many laundry cycles, further reducing your environmental impact.
Embrace a New Level of Softness with Rinse
Now that you're well-versed in the science behind dryer balls and how they can revolutionize your laundry routine, let's explore how to take your laundry experience to the next level with Rinse.
At Rinse, we share your commitment to a sustainable and efficient approach to laundry care. We understand that achieving soft, fresh, and eco-friendly laundry results is a priority for our customers.
Our process is simple yet effective. When you entrust your laundry to Rinse, you can expect:
-
Wrinkle-Free Convenience: With Rinse, wrinkled garments will be a thing of the past. Our cleaning practices are tried and tested, leaving your clothes looking fresh and neat.
-
Eco-Friendly Commitment: Rinse shares your dedication to sustainability. We aim to minimize the environmental impact of laundry and dry cleaning and strive to contribute to a greener planet.
So, why not simplify your laundry chores and embrace a new level of care with Rinse? Say goodbye to the hassle of laundry day and hello to fresh, eco-friendly, and perfectly soft clothes. Join us in making a difference, one load of laundry at a time.
Contact us at Rinse today to see our skill in action.
Topics
Rinse Drop
We offer pickup and delivery if you can’t be present between 8pm and 10pm.
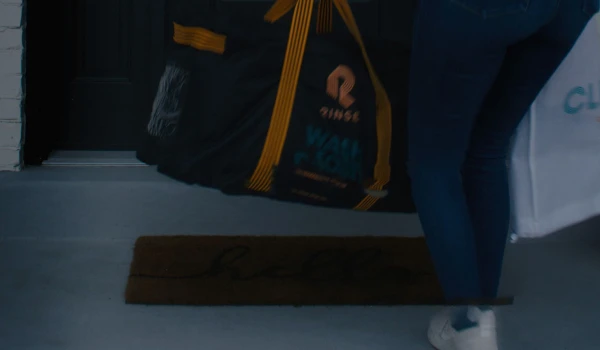
Our Valet will pick up or deliver your order to your doorstep or concierge, at which point you’ll receive a text with a photo showing where your items were left.
You can enable Rinse Drop on any (or all) of your orders.

