Care
Clothing care tips to make your wardrobe last

A leather jacket or pair of leather boots are classic wardrobe staples that can easily elevate your outfit in one simple step. But if the thought of the high-maintenance that comes along with owning leather is preventing you from donning it this fall, our specialty care guide will help make the process simpler.
Introduction
Is your favorite leather jacket starting to show some wear? Does your leather bag have a little grease stain that you just haven't been able to remove? Fear not, we can help you here.
Regular leather care is crucial to maintain the appearance and longevity of your clothes and accessories. You can't just throw these items into the washing machine and call it a day – instead, follow the below guide and make leather cleaning a breeze.
Products You Need to Clean Leather Clothes
Microfiber Towel
Use a microfiber towel instead of any cloth to prevent scratching and also ensure no lint or other particles remain on your leather clothes post-cleaning.
Leather Cleaner
Look for a cleaner that is specifically designed for leather. This will ensure the substance has a balanced pH and will be appropriate for your cleaning. Alternatives like Castile mild soap or diluted gentle baby shampoo are also acceptable.
Leather Conditioner
Leather conditioner will ensure your leather's moisture is replenished and will keep the garment shiny.
Dish Soap
Some leather jackets (such as leather honey) can also be cleaned with dish soap instead of a leather cleaner. Simply add a few drops to a solution with warm water and you'll be good to go.
Soft-Bristled Brush
Use this type of brush to reach textured or hard-to-clean areas and remove lodged dirt or particles.
Multi-Surface Cleaner
You can use a multi-surface cleaner to clean coated leather. Two to three sprays onto your microfiber towel or cloth will suffice.
Shoe Polish and Cloth
This one is optional, but you can use matching shoe polish to cover any blemishes or stains that are not coming out post-clean.
How to Clean Leather Clothes
Dusting and Brushing
Make sure your leather jacket or garment is clear of any debris or dirt. Use a clean and slightly damp microfiber cloth or brush to wipe off any visible soiling or grime.
Always make sure to check your garment's care label before proceeding any further.
Preparing the Cleaning Solution
Make a cleaning solution using your leather cleaner and warm water. The exact recipe will vary depending on the brand and type of solution used, so consult the instructions. If you are using dish soap, two or three drops will be enough.
Clean the Garment
Using a clean cloth, dip it into the cleaning solution and massage your leather garment using slow, gentle, circular motions.
Condition and Dry
Wipe off residue moisture from your leather clothing using a dry cloth and use that same clean cloth to apply conditioner. Again, consult the manufacturer's instructions to ensure you are using the product effectively.
Part of a leather jacket's appeal is its versatility. It looks great on both men and women, and it works with various layers and textures. While leather complements most outfits, special care should be taken to ensure the fabric lasts since leather can't be cleaned with traditional laundry methods. Hang your leather apparel on wooden hangers in a cool, dry area to help the jacket maintain its shape, as folding may create creases. This also preserves the fabric's integrity and prevents any stretching that might occur.
Waterproofing
Before wearing your new or vintage leather jacket out for weekend brunch or a night on the town, don't forget to weatherproof it. Lightly wipe the jacket with a damp cloth and finish off with a quick spritz of leather protectant to ensure your investment piece is ready for all weather conditions. This simple step also safeguards against any potential stains or spills, and it works for leather shoes and boots as well. Do a spot test before application by spraying a small section to check how the leather reacts to the product. If you don't see any discoloration or changes in texture, proceed to cover the entire piece. For best results, repeat this process at the start of each new season.
Stain Removal
If you've had a little slip with your leather pants or jacket, keep calm and blot on. For a water-based stain, resist the temptation to reach for a blow dryer – let it air dry naturally instead. Road salt and ink stains can be common occurrences; rubbing alcohol will take care of the latter, and saddle soap will help with any salt on your leather footwear. As always, test out a small area before covering a large area of the fabric with any given substance. If these methods fail to remove the stain, consider sending your pieces to a professional cleaning service.

Seasonal Care: Cleaning and Storage
Professional Cleaning over At-Home Care
There are always inherent risks to cleaning leather, so opt for professional care instead of the DIY route; you might be able to take care of some minor blemishes, but treating a stubborn oil-based stain yourself can lead to some damage to the material. While it may seem like an added cost, professional cleaning will save you money in the long run by preserving your clothing for a longer period. However, contrary to common misconception, leather can't be dry cleaned. The heat treatment will cause the fabric to lose its natural oils, which can lead to color bleeding or cracking in the material. That being said, your dry cleaner will most likely be able to outsource your garment to the best specialty cleaner in the city to ensure your attire receives the expert care it deserves.
Storing for the Off-Season
Investing in a leather conditioner to keep your pieces soft and supple between wears will be highly beneficial. Keep your jacket on a wooden or padded hanger – a wire hanger will bend and as a result, can stretch out the material. If you plan to keep your jacket in a bag, a cloth garment bag is preferable over a plastic one because the former will allow the leather to breathe. For any leather apparel you own, send it to a dry cleaner first to take care of stains and odors before storing it in a cool and dry spot, away from sunlight. Also, don't forget to wash your other winter jackets before storage, too.
Leather requires extra attention to keep it looking its best, but that doesn't mean it has to be a painful process. By following our expert care tips, you'll keep your favorite leather pieces in great condition – without too much fuss.
Take the Best Care of Your Leather with Rinse
Well there you have it – a complete guide on how to care for your leather garments. If the above seems like a lot of work or you just don't have the time to do it, we do have one last suggestion – use a laundry and dry cleaning service, such as Rinse.
We have years of experience cleaning garments of all materials and fabrics, including leather. You can rest assured your favorite leather jacket is going to come back clean with the highest standards of care.
The best part? We offer pickup and delivery services right to your doorstep, all 7 days a week.
Contact us at Rinse today to see our skill in action.
Photos: pongsakorn prammaeklong / Shutterstock.com, London Scout, Greg Raines, Viktor Hanacek, Dương Trần Quốc

Do you remember to wash your bath mats? Do you know how to get them back in sparking clean condition? They are easy to overlook but you may be surprised why you should start cleaning them more often and the right way.
Introduction
Sure, your bath mat probably feels nice and soft on your feet after every shower, but underneath all that comfort may be some pretty gnarly grime and not-so-nice germs.
Before you add burn bathmat to your to-do list, we recommend at least skimming this post. Just as with bed sheets and clothing, there is a correct way to care for your bath mat so that it stays fresh and clean, shower after shower.

How Often Should You Wash Your Bath Mat?
Bacteria and fungi love moisture and warmth, something your bath mat has a lot of after every shower. As such, it isn't surprising to see these unwanted microorganisms thrive in your bathroom.
This should convince you that your mat needs to be cleaned every now and then. How often, you ask? Well, it depends on your household.
For instance, if you live alone and shower once a day, you are okay to clean your mat once every 2-3 weeks. However, if you have children and your mat spends many hours of the day damp, you'll likely want to sanitize it every week.

How to Wash Bath Mats in the Washing Machine
Great, today is the day your bathroom rug is getting a wash. Here's what to do:
Shake the Bath Mat
The first step is giving your bath rug a good shake to remove any debris like hair and dust.
Remove Stains
Next, inspect your bathroom mat for any stains. Although rare, you might find residue from makeup or toothpaste that made its way to your bathroom floor, especially if it's a memory foam or cotton bath mat.
If you have found some stains, use a stain remover or hand wash the spots before placing the rug in the washer.
Put the Bath Mat in the Washing Machine
Now stain-free, the time has come for machine washing to take care of the rest. Don't forget to check the care label for any special washing or drying instructions before running the load.
In general, you should wash on cold (especially if the mat has bright colors that will fade or bleed), use a gentle laundry detergent, and run a delicate cycle.
Air Dry Your Bathroom Rug
After the washer is done, take out your bathroom mat as soon as possible. While some rugs can be tossed in the dryer (those without any plastic) and go through a tumble dry session, it is best practice to let them air dry. To do this, place your bath mat flat on a drying rack or clothesline and leave it there until it is fully dry.

How to Wash Bath Maths by Hand
Some bath rugs are made of delicate materials (memory foam mats, for example) that are not suitable for machine washing. If that's the case, you will need to roll up your sleeves and wash them by hand. Here is how:
Shake Any Excess Dirt
Start by shaking out your mat to remove particles and debris. Ideally, do this outside to avoid spreading them indoors.
Remove Stains
Just like you would before machine washing, inspect your bathroom mat for any stains. If you have found some stains, use a stain remover to treat the spots.
Fill Bathtub with Warm Water
We recommend using your bathtub or a large sink to hand wash your cherished chenille or memory foam mat. Start by filling it up with warm water and add drops of gentle laundry detergent.
Submerge the entire bath mat in what will become a foam bath for your rug. Rub it gently with your hands, targeting any visibly dirty spots.
Rinse the Detergent with Cold Water
Now that your mat is clean, wash away the laundry detergent with cold water until no residue remains.
Hang the Bath Mat Flat to Dry
Your mat will be quite heavy and drip, so consider this when placing it to air dry. Again, use a clothesline or drying rack to ensure it dries properly and quickly.

3 Tips to Care for Your Bath Mats
Congrats, you're now the expert on cleaning your bath mats! Not quite. Here are some additional pro tips to care for your bath rugs effectively.
Determine How Much Use Your Bathmat Gets
The condition of your bath mat comes down to how much you use it.
If you’re like most people, you are using it daily. If you share a bathroom with more than one person you then have to factor in their daily usage in addition to yours.
You also need to consider the time in between each use when your bath mat can dry and air out. The more it is used and the less time it has to dry the more likely your bath mat has unseen dirt, germs, and even mold or mildew settling in!
Wash Your Bath Mats Accordingly
As we mentioned above, the answer to how often you should wash your bath mats can be subjective and a bit complicated. If you want to keep things simple, a good rule of thumb is to wash your bath mat at least once per week.
If you find yourself in a household that shares a bathroom between two or more people, it is perfectly acceptable to wash your bath mats every three to five days.
If you have your own bathroom, you may be able to get away with washing your bath mats about every 14 days to prevent mold or mildew from building up underneath the fabric.
Minimize Long-Term Moisture
It’s important to create an environment that allows your bathmats to fully dry.
Turn on your bathroom fan or open a window during and after showers. Why? Adding a little ventilation to your bathroom helps cut down on the steam buildup, which can seep into both soft (read: bathmats) and hard surfaces, making your bathroom a tropical paradise for mold spores, bacteria, and other unpleasant things.
When you are done using your bath mat, hang it up! Exposing both sides of the bath mat to the light of day will help it dry more quickly and reduce the risk of mold and mildew.

Keep Your Bath Mats Clean With Rinse
So now you're fully convinced that your bathmats need regular cleaning and should be considered a part of your laundry routine. But what if you just don't have the time or energy to do it?
Like most things related to laundry, we have an easy solution for you – Rinse. If you have regular laundry to do (like most non-nudist adults), our subscription Wash & Fold service, Rinse Repeat, may be just what you need. You just fill up your Rinse Repeat bag with all of your laundry – including bathmats – and we’ll pick it up, wash it, fold it, and deliver it back to you on a weekly or biweekly cadence (depending on your plan).
So, then next time you hop out of the shower, remember your hardworking bath mat and be sure to give it the care it needs!
Contact us at Rinse today to see our skill in action.

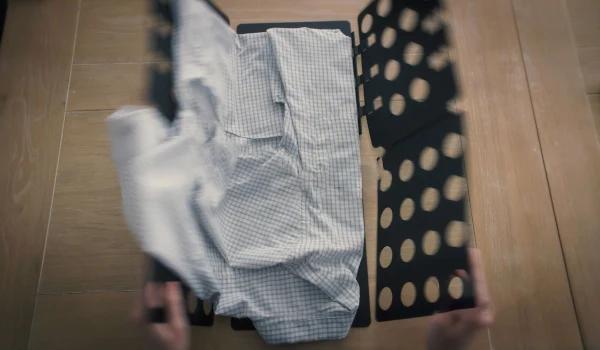
This article serves as a practical guide to streamlining the clothes-folding process, offering a plethora of tips and hacks to speed up the process and improve your technique, specifically focusing on various clothing items like shirts, pants, dresses, and towels.
Introduction
Folding clothes can be a cumbersome process, but not doing it right can lead to messy drawers and time wasted in searching for clothing. Knowing how to fold clothes properly using the correct techniques will save you a lot of time and bother. This article will discuss some ways to speed up the clothes-folding process, with special reference to shirts, pants, dresses, and towels.
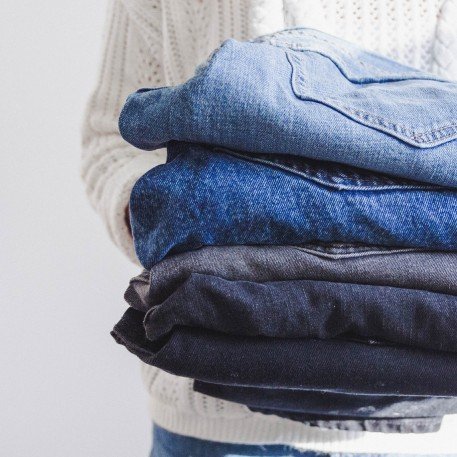
Improved Folding for 4 Types of Clothes
Folding laundry just after it has dried is a great time saver. Some of the ways to fold items that we'll explore below include the Japanese folding method (also called the Konmari method or the Marie Kondo shirt folding method), the rectangular fold, and the rolling method.
Shirts
The Konmari folding method is all about how to fold shirts to save space. It includes the following steps:
-
Place the shirt with the front facing down and the back towards you on a flat surface.
-
Fold the left side towards the middle.
-
Fold the right side in a similar way.
-
Then fold in half lengthwise.
-
Finally, fold it once again in half or third for better storage.
A T-shirt can be folded in a variety of ways. Two of these include the Rectangle Fold Method and the Rolled Shirt Method.
Rectangular Fold Method:
-
Lay out the T-Shirt on a flat surface. Keep the front facing down.
-
Then, fold the right side of the shirt towards the middle longways. Let the sleeves be in the center. Make a fold from top to bottom.
-
Do the same with the left side of the shirt. There might be a slight overlap at the edges.
-
Next, fold the shirt in half vertically so that the hem meets the collar line.
-
The shirt will now look like a rectangle if you smooth out the creases.
Rolling Method:
-
Start by laying out the T-shirt face down on a flat surface.
-
Then, fold the right side of the shirt towards the middle lengthwise. Keep the sleeves in the center.
-
Do the same with the left side of the shirt. There might be a slight overlap at the edges.
-
Now, starting from the bottom, roll the shirt towards the top so that it is more compact.
-
You can store the shirt more conveniently if it is rolled up this way.
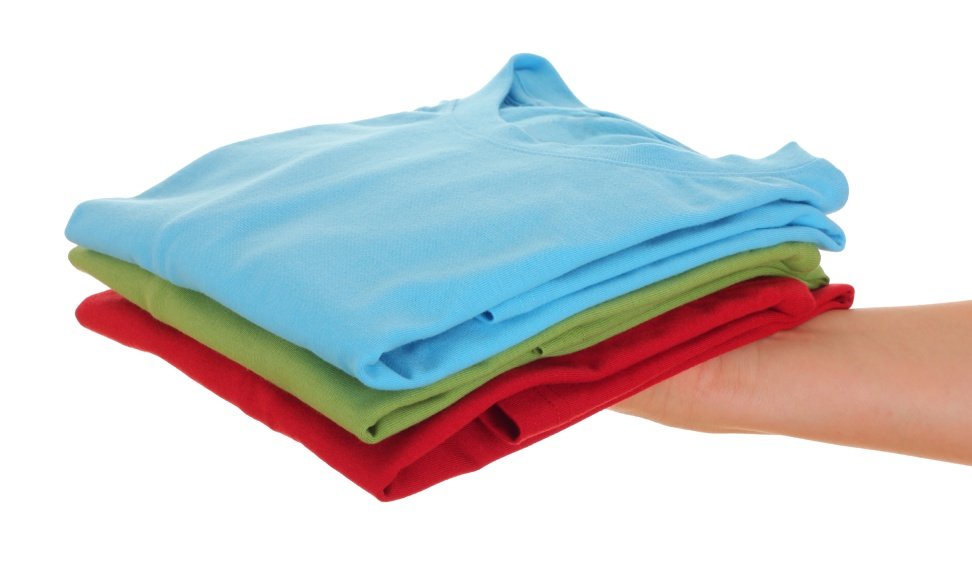
Pants
Some of the best ways to fold pants or slacks include:
Marie Kondo Method
-
Straighten the pants out on the folding surface.
-
Fold the pants in half in the middle.
-
Then, fold in halves or thirds.
Second Method
-
Take the pants and lay them out on a flat surface. Try to remove any creases.
-
Now, taking the middle, fold the pants over lengthwise.
-
Take the waistband end and fold it over to the center of the pants.
-
Do the same with the hemmed end. The two ends should meet in the middle.
-
Fold one half over the other and flatten it out so the fold is nice and neat.
Dresses
We will discuss the Marie Kondo method and the Rolling Method to fold dresses.
Marie Kondo Method
The Marie Kondo way of dress folding is as follows.
-
Put out the dress with the front up on a flat surface.
-
Next, fold one side of the dress 1/3rd of the way across the center
-
Now, fold the other side 1/3rd across as well. This will create a long rectangle.
-
Next, fold the dress in half, with the neckline towards the hem.
-
Then, fold by 1/3rd towards the hem.
-
Last, fold the dress by 1/3rd a final time.
-
Store the dress vertically.
The Rolling Method
Another way to fold a dress is to use the Rolling method. This involves the following steps:
-
Place the dress on a folding surface with the front facing down.
-
Fold the sleeves towards the back of the dress, moving them inwards.
-
If the sleeves go past the waistline of the dress, fold them in half upwards.
-
Line up the seams of the dress so that it is properly aligned. This will keep the dress in a straight line.
-
Fold the excess material toward the center of the dress to make it more compact.
-
Roll the dress from the bottom up.
-
Store the dress with the rolled-up end down so that it does not unravel later.
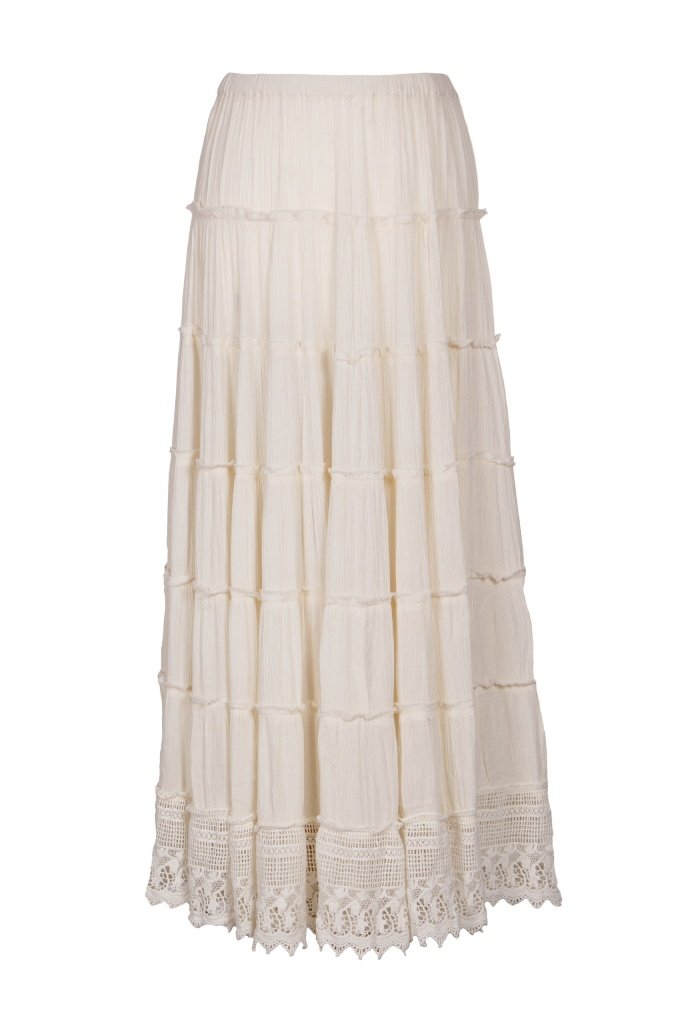
Towels
Two ways to fold towels include the Towel Bar Folding Method and the Wear Reducing Towel Bar Method.
Towel Bar Folding Method
For the Towel Bar Folding Method, fold the towels in half vertically, Then continue folding them into thirds so that they can be stored.
Wear Reducing Towel Bar Method
For the Wear Reducing Towel Bar Method, first fold the towels widthwise, with the short ends together. Then, fold them widthwise once again to allow for more compactness and better storage.
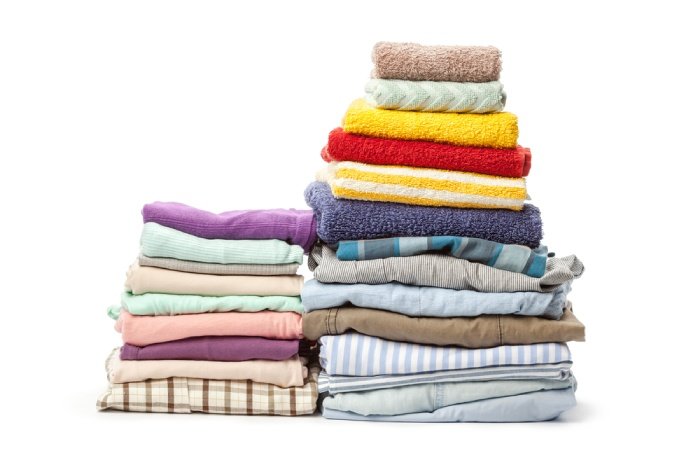
How to Fold Quicker: 5 Tips
We give below five clothes folding hacks for better folding and storage.
-
Have a Designated Folding Space: The first step in getting your clothes folded quicker is to set up a designated folding space. Make sure it can accommodate your largest items. It helps if you have this area near your clothes storage space. Having ample space to sort out and fold the clothes will also help.
-
Don't Accumulate Piles: Forming piles of clothes creates a mess and can lead to losing a lot of time in searching for a particular garment, such as finding matching socks. It is best to sort out clothes and iron them out before folding them.
-
Fold Similar Clothing Types Together: One of the most efficient ways to speed up the folding process is to sort out the clothes in similar types. Then, fold clothes that are of the same type together. Since you are using the same folding technique for particular items of clothing, it makes the process faster and more efficient. It also helps to place the clothes in separately allocated spaces in your closet.
-
Choose a Closet System: Since you are the best judge of what you prefer wearing, it would be a wise move to choose a custom-made closet that suits you. There are furniture manufacturers that will visit your home to plan your closet space and design. The best part of a customized closet is that items like drawers, shelves, and hanging space can usually be adjusted depending on your particular needs.
-
Use the File Fold Method: The file fold method was invented by Marie Kondo. It is a method that uses the minimum of space per storage item by storing items vertically. By using this method, you can neatly store the maximum number of items and also locate them visually in the fastest time. If your storage space is ample, consider installing separators for rows of clothes.

Perfectly Folded Laundry With Rinse
You can get the benefit of perfectly folded laundry with Rinse. We are a laundry and dry cleaning service that delivers perfectly ironed and folded clothes to your doorstep so that you don't have to do this tedious chore by yourself.
Saves on Storage Space
Folded clothes save on storage space. Nobody likes the clutter of clothes thrown about everywhere. A neat-looking closet makes you feel easy and relaxed.
Less Chances of Wrinkles
With our folded clothes, you will have less chances of wrinkles. If you have a presentation at the office and want to look your best, you can trust that your perfectly folded clothes will make you feel confident and upbeat.
Helps You Stay Organized
Another benefit of folding clothes is that it helps you stay organized. You can easily find the clothes you want by just looking in the correct section of your closet.
Extends Lifespan of Clothes
Perfectly folded clothes not only look neat but also add to the lifespan of the clothes. If clothes are stored in a disorganized manner, it can lead to wear and tear while rummaging through them.
The next time you want perfectly laundered clothes, consider Rinse. We provide dry cleaning, laundering and pressing, washing and folding, and hang dry services. Our Valets are available to pick up and deliver your clothes to make it more convenient for you, all 7 days a week. Check out this link for pricing or any other queries you might have.
Contact us at Rinse today to see our skill in action.

This article serves as a comprehensive guide to demystifying the effective use of bleach in laundry. It begins by exploring the different types of bleach and their distinct purposes, followed by detailed instructions on proper dilution methods for safe usage.
Introduction
For most people, cleaning clothes can be an unpleasant task. To do this task, we'll need a range of supplies, including laundry detergent, a washer and dryer, and occasionally specialized items like bleach that work to disinfect, whiten clothing, and remove stains. It also aids in bringing color to clothing. The majority of people are wary of using bleach to clean their clothes because it is a chemical that can be harmful if used incorrectly.
But do not worry, you will learn about the various kinds of bleach and the appropriate amount to use for washing and cleaning laundry in this guide.
Types of Bleach and Their Uses
When it comes to using bleach for cleaning purposes, we should be concerned about two main types of bleach: chlorine bleach (also called sodium hypochlorite bleach) and non-chlorine bleach (also called oxygen bleach).
Sodium Hypochlorite Bleach
Chlorine bleach is known by this chemical name. This is because sodium hypochlorite is the bleach's active component. Whites are brightened and stains are removed with this bleach. It should not be applied to anything that isn't white because it also washes out color. That is why we should use bleach very carefully on clothing items. This is a harsher form of bleach compared to oxygen or non-chlorine bleach.
It is best to dilute this bleach with water because it still contains a strong concentration of 4-6% of the chemical when you buy it from the store. You should always look at the washing instructions written on clothes before using bleach to clean them.
Oxygen Bleach
This is non-chlorine bleach. It is also known as peroxide bleach, color-safe bleach, or all-fabric bleach. It is generally kinder to clothing and can be used to remove stains from both colored and white clothing. These products typically contain hydrogen peroxide, sodium percarbonate, or sodium perborate as their active ingredient.
Bleach can be used both as a cleaning agent and for removing stains. It can brighten clothes and leave whites looking more resplendent. This is why household bleach is used so commonly during the laundry process.
Next, we will learn how to remove stains with bleach, how to use bleach with laundry, and how to use white bleach for clothes, as well as the process of bleaching colored clothes.
How to Dilute Bleach
Since the chlorine bleach you get from the store is still in a strong concentration, you need to dilute it before use. Do not use undiluted bleach. Again, it is best to follow the instructions given on the packet or container.
The best way to use bleach if your washer does not have a bleach dispenser is to add the bleach while the washer is filling with water before loading it with clothes. Just add the recommended amount. Alternatively, you can add it five minutes after the wash cycle has started. In this case, add the bleach to a quart of water to dilute it. If the clothes are slightly soiled and the wash load is small, add 1/2 cup of bleach. For heavily soiled and larger loads, you would add 2/3 cup of bleach.
Situations where you would have to increase the amount of bleach above the recommended limit include dirtier clothing, larger loads, and hard water. If your washer has a bleach dispenser, this can make it difficult to adjust the amount of bleach for soil load manually. In this case, fill the dispenser to the top of the fill line and consider smaller loads for heavily soiled laundry.
10 Tips For Using Bleach in Laundry
We give below 10 practical, safe, and expert tips for maximizing the benefits of bleach in laundry. These tips will help you by telling you how to wash clothes with bleach, use detergent with bleach, and check for color fastness before using bleach on materials.
1. Dilute bleach properly
Follow the instructions that came on the bleach container. The general recommendation is to use 1/2 cup of bleach for a regular-sized load. Only use detergent with bleach, nothing else.
2. Use bleach in specific wash cycles
Separate white and colored clothing and wash them in different wash cycles. Never pour bleach directly on fabrics as it can cause splotches and result in discolored clothes.
3. Read clothing labels
Always read the clothing labels to make sure they can withstand bleach. Fabrics like wool and silk are generally not bleach-safe. It is also recommended to read the instructions that came with the bleach regarding directions of use.
4. Test for colorfastness
It is best to check for colorfastness before using bleach on any fabric. You can do this by diluting the bleach with a little water and applying it to an inconspicuous area of the garment. Wait for at least 30 minutes. If there are no adverse reactions, it is safe to bleach the garment.
5. Never mix bleach with other products
Except for laundry detergent, it is generally unsafe to mix bleach with any products, especially those containing ammonia or vinegar. Doing so may create toxic fumes, which could jeopardize your health. It is also not recommended to mix chlorine and non-chlorine varieties of bleach. The chlorine bleach will negate the effects of the non-chlorine bleach, making the entire process ineffective.
6. Follow recommended soaking times
If you are soaking clothes in a bleach solution, follow the recommended soaking time. Going beyond this will weaken and damage the fabric.
7. Protect your skin and eyes
If you are using bleach for the first time or trying a new bleach product, take care to protect your skin and eyes by wearing gloves and goggles while handling the bleach. If bleach inadvertently enters your eyes, wash them quickly and thoroughly with water.
8. Ensure proper ventilation
Always keep the doors and windows open so that there is enough fresh air. Keep the laundry room ventilated.
9. Rinse thoroughly
It is preferable to rinse the area thoroughly to remove any bleach residue. It is also recommended to wash your clothes properly for the same reason. This also results in your clothes lasting longer.
10. Clean the washing machine
By cleaning the washing machine after you have used bleach, you can get rid of bleach residue. Also, follow this up with a vinegar and water rinse so that your washing machine is free of odor.
Experience Expert Laundry Care with Rinse
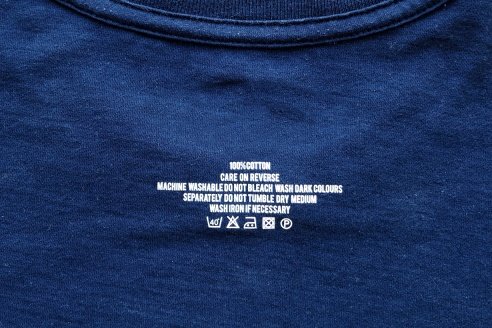
In general, the best method of doing laundry includes sorting clothes, reading care labels, choosing the right cleaning products, and pre-treating stains.
Paying attention to washing care labels and water temperature is equally important, as is the setting and number of cycles for washing. Cold water is gentler and better for darker colors. The drying method used should also be according to instructions on the clothing care labels. When it comes to ironing, it is preferred to iron clothes when they are a little damp.
Rinse is a laundry and dry cleaning service with years of experience handling laundry needs. This includes stain removal and garment care. We are also experts in removing color bleed from garments, which occurs because of direct dyes that are not fiber-reactive.
Rinse professionals know how to care for your garments. We understand the language of clothing care labels and know the correct washing and drying methods. This ensures that your garment is treated with the standards of a professional cleaning service, and we know that certain garments need to be treated with extra care.
You can easily access our services by scheduling a pickup on our website, on our app, or via SMS. Our Valet will pick up your clothing from your home or office and deliver it when done. You can include special instructions with your order, and we will comply with them.
So whether you want to dry clean, wash and fold, or hang dry your clothes, we have got it covered. You can also get $20 off your first order!
Contact us at Rinse today to see our skill in action.
Image Source: Church & Dwight Co., Inc., The Clorox Company

This article serves as your definitive guide to eradicating moths from your closet. It begins by helping readers identify moth infestations, distinguishing between clothes moths and pantry moths. Also, the content then provides a step-by-step process to eliminate moths effectively. Additionally, it offers preventive measures such as using mothballs.
Introduction
As warm weather arrives, so do moths. But we have some even worse news: moth larvae are most likely eating away at your clothing at this very moment.
They particularly love to feast on a cashmere sweater but enjoy silk, cotton, feathers, shearling, and lambswool just as much. If you suspect a moth infestation in your wardrobe, your next plan of action is learning how to get rid of these pesky insects for good.
In this guide, we teach you how to get rid of moths in your closet. But before that, let's look at some ways to identify a moth infestation.
How to Identify Moths in a Closet
How do you know if you need to put out a moth trap or two? Here are some signs to look out for:
-
Small Holes in Your Clothing: These are the result of moth larvae feeding on fabric.
-
Presence of Adult Moths: Adult moths are often found flying around, especially near lights.
-
Larvae Casings: Moth larva shed their skin as they grow. You might see these casings in your closet.
-
Webbing: Some types of moths create webs as they feed on fabric. These can be seen in your closet, particularly in corners or along the edges of clothing.
There are also different types of moths to be aware of, such as:
-
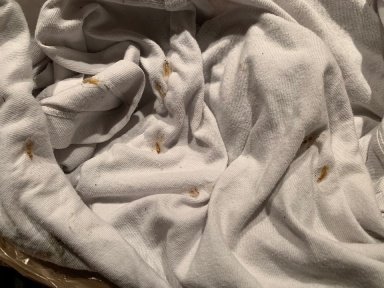
Clothes Moths: These are the most common type and usually have a golden color with reddish hairs on their head. They're about 12 mm to 17 mm in length.
-
Pantry Moths: An adult pantry moth is half an inch in length and may have beige or gray wings. As their name suggests, they tend to infest food storage areas. A common symptom of pantry moths is yellow or brown larvae crawling on shelves or in food.
-
Carpet Moth: A carpet moth is attracted to natural carpet fibers. If you see over five carpet moths in one room, it's a safe bet to say you have an infestation. These moths have a wingspan of 14 to 18 mm.
-
Webbing Clothes Moth: A webbing clothes moth is found worldwide and has a shimmery gold or cream body. Its larvae create silk webs, which is how the moth gets its name.
-
Casemaking Moth: Casemaking moths are buff-colored with wings a quarter inch long. Their forewings are brown and have three dark spots.
5 Steps to Get Rid of Moths in Closets
Getting rid of moths in your closets can be a bit daunting. But take it in a stepwise manner, and it can be manageable. Follow these steps for at-home pest control.
Step 1: Find Where the Moths are Coming From
The first step to eradicating the moths from your closet is to locate the source of the infestation. Look for any areas where the moths may be laying eggs. Check for any signs of larvae or silk webs.
If you find moths crawling over a garment, put it in a sealed plastic bag. A highly infested garment is often surrounded by other infested items. Check around and see where the moths are hiding.
Step 2: Clean Out Your Closet
Whichever clothing item you find with moth larvae, put it in a plastic bag. You can use plastic trash bags for this.
Choose a warm and sunny day to clean out your closet. Start by taking everything out of your closet and thoroughly vacuuming the shelves, corners, and walls.
Use a crevice tool to get into all the small spaces where larvae may hide. Then, use a damp cloth to wipe down all surfaces. Doing this will remove every last moth egg or larva from your closet.
Step 3: Treat All Infested Clothes
There are different ways to treat infested clothes. Both clothes moths and pantry moths are sensitive to low temperatures. Put the plastic bags filled with clothes in the freezer for 72 hours. It will kill the adult moths and eggs.
Another way to deal with moths and their larvae is to wash your clothes in hot water. Put all your infested clothes in the washer and run a hot cycle.
Step 4: Discard Infested Items
Sadly, some clothes and items may be too infested to salvage. If you can't bear to part with them, get in touch with a professional pest control company. They may be able to treat your items and remove the infestation.
But if that doesn't work out, you'll have to discard those clothes. Put them in a sealed plastic bag and throw them in the garbage.
Don't forget to discard any items that are near the infested clothes. These may be accessories, bags, shoes, or even cloth baskets.
Step 5: Use Natural Remedies and Insecticides
You can also use natural remedies or an organic moth killer to repel moths and prevent further infestations. Moths are particularly sensitive to strong scents such as cedar oil, lavender, and peppermint. You can make sachets out of these scents and place them in your closets or storage bags.
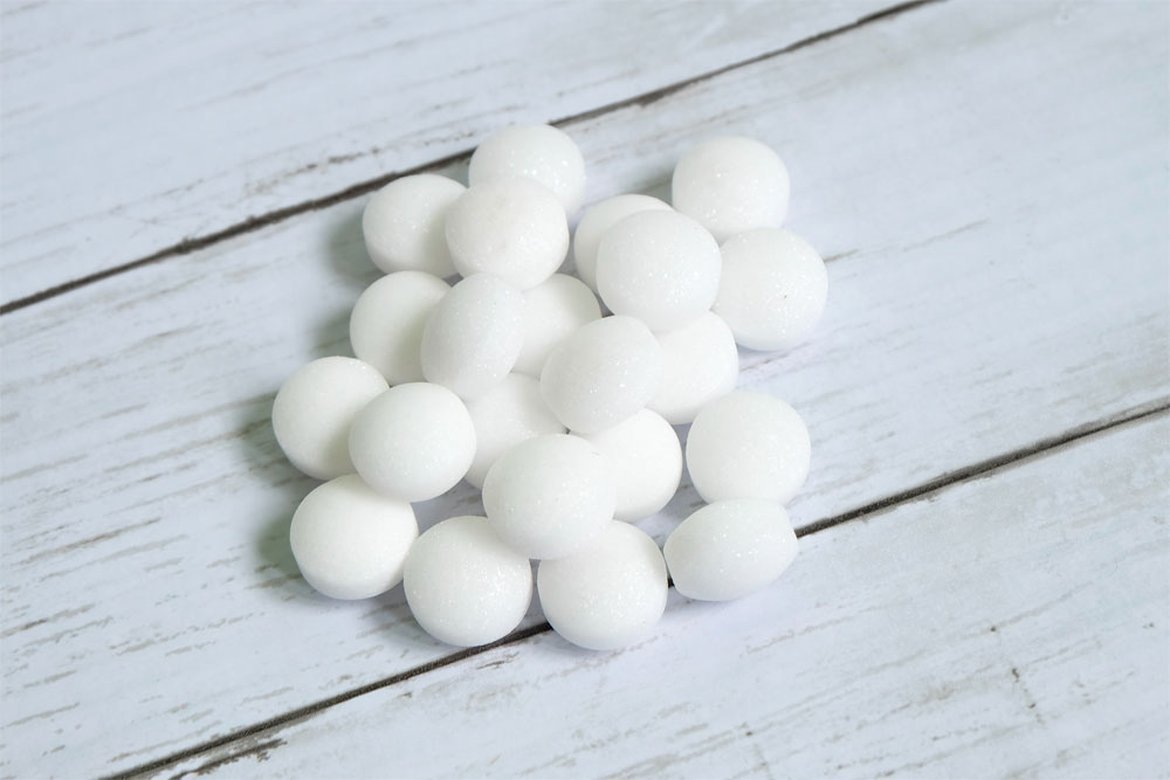
Naphthalene and 1,4-dichlorobenzene are also toxic to moth larvae and adult moths. These chemicals are often found in mothballs and moth crystals. Keep a mothball or a moth crystal in your closet or wardrobe to deter moths from laying eggs. It's a potent moth killer that can kill the Indian meal moth, webbing clothes moth, house moth, casemaking clothes moth, and even the carpet moth.
Be careful when using mothballs and crystals, though. Naphthalene is flammable and should be kept away from heat sources. 1,4-dichlorobenzene also poses health risks, so you may use camphor as an alternative.
If you prefer natural remedies, try using pheromone traps. These traps contain a synthetic version of the female moth's sex hormone, attracting male moths and trapping them.
How To Prevent Moths from Coming Back
You put a pantry moth trap or used a moth repellent, and it worked. Congratulations! Now, you have to prevent the moths from coming back.
Here are some ways to keep moths away:
-
Store your clothes properly. Make sure they are clean and dry before storing them in airtight bags or containers.
-
Store wool garments with cedar blocks or chips. Cedar oil is toxic to moth larvae, so it's an excellent natural remedy.
-
Put lavender sachets in your storage bags and closets. They have a calming scent for us, but it's repulsive to moths in their larval and adult stages.
-
Inspect your closet regularly. Look for larvae, too. Put your special garments in a hanging bag to keep moths at bay.
-
Do not store dirty items. These are food sources for moths.
-
Don't store delicate items in cardboard boxes. Moths can easily chew their way in.
-
Vacuum your closet or wardrobe regularly. It will help remove any eggs, larvae, or adult moths.
-
Place mothballs in your closet. Use our guide to learn more about them.

Protect Your Clothing with Rinse
One of the reasons you see moths in your closet is improper washing and drying. The moist environment is the perfect breeding ground for moths. Why make your home susceptible to pest infestation when you can use a service like Rinse to ensure your clothes are cleaned and stored properly?
We use eco-friendly detergents to clean your clothes. Next, we dry them completely before putting them in a storage bag.
Even better, we offer dry cleaning services since that may be the only way to clean certain fabrics. Our dry cleaning services can help you save money on mothballs, cedar blocks, and other preventive measures.
Since we offer pickup and delivery, you don't even have to leave your home to keep your clothes clean. You can just drop us a text, and we'll pick up your laundry from your doorstep.
Contact us at Rinse today to see our skill in action.

This article is your comprehensive guide to combating armpit stains. It delves into the causes behind these stubborn stains, offering various effective methods for their removal. The content doesn't stop there – it also provides valuable insights on prevention strategies to avoid future armpit stains.
Introduction
If you've ever struggled to remove a deodorant stain from a white shirt, you know how frustrating it can be. But fear not; removing a sweat stain isn't too complicated if you know which steps to follow.
One thing you need to keep in mind when dealing with a sweat stain is not to scrub the fabric too hard. You don't want to damage your clothes in the process of trying to remove a stain.
Instead, use special cleaners like vinegar and dish soap to tackle these stubborn stains. Below, we take a look at some tried and tested methods to remove a deodorant stain.
What Causes Sweat Stains?
The simple answer would be sweat. But there are more than one culprit.
The first is your body's sweat, which contains salt and other minerals. Sweat is largely composed of water, but also has electrolytes like potassium and sodium. Upon evaporation, these minerals leave behind stains.
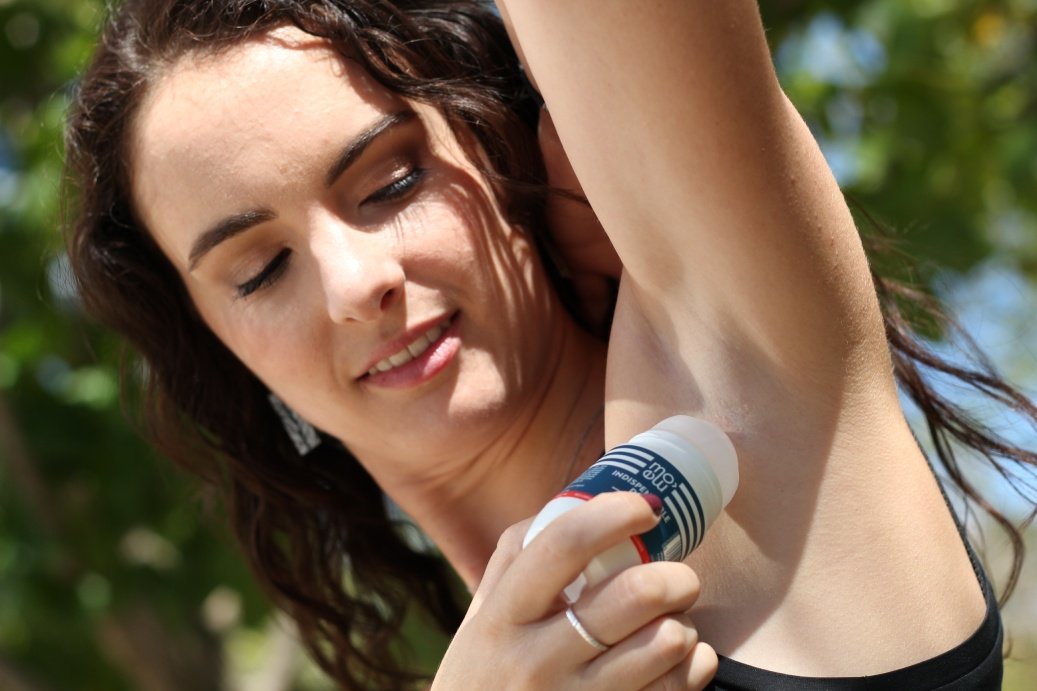
The second cause is using a deodorant or antiperspirant. Some products contain aluminum chloride, which can react with sweat, causing yellow or white stains.
Your body oils and bacteria also contribute to this by breaking down the compounds in sweat and antiperspirants. These byproducts can discolor your clothes.
Some fabric types are also more prone to staining than others. For example, natural fibers, such as cotton, aren't as susceptible to sweat stains. On the other hand, synthetic fabrics and silk tend to retain stains.
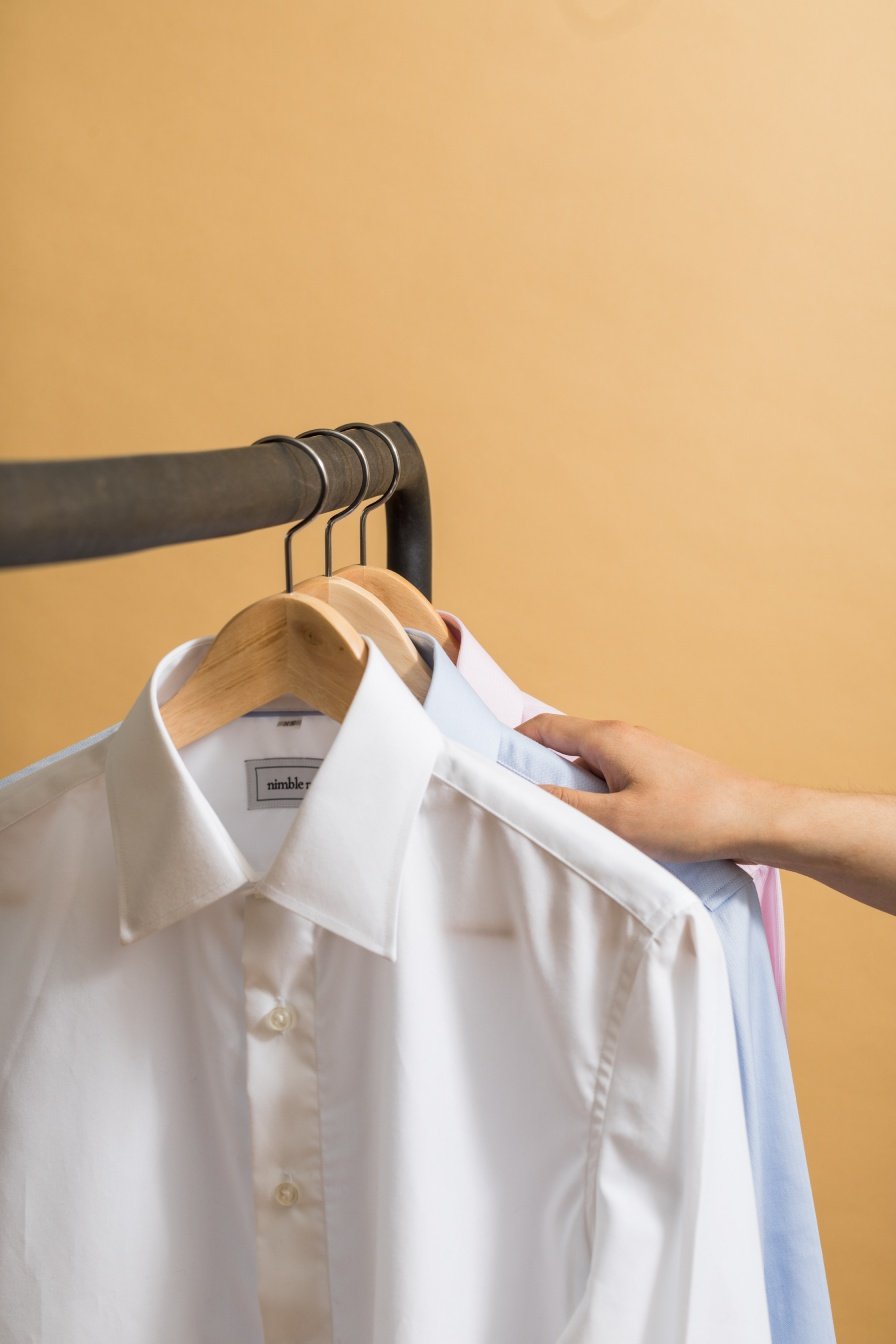
5 Methods to Remove Armpit Stains
As we've already mentioned, you'll need specific materials to remove armpit stains. Let's take a look at some methods that use everyday household items.
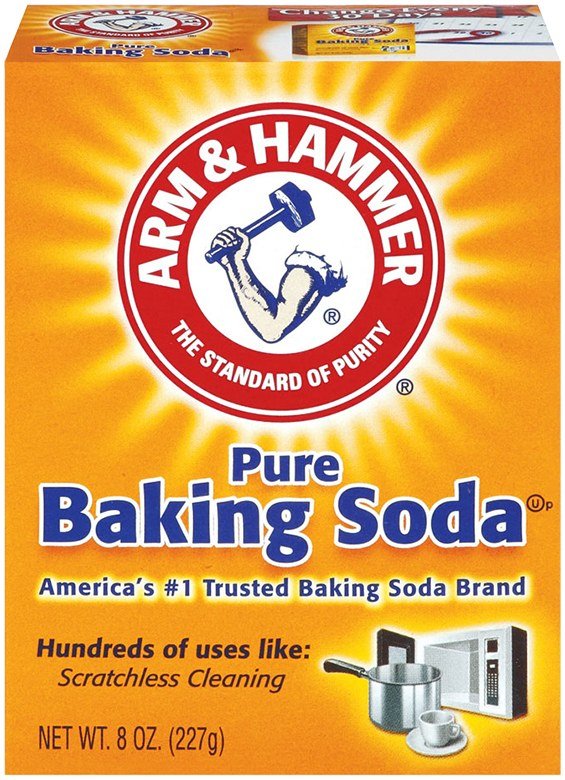
Method 1: Using Baking Soda
Baking soda has a two-way action on stains. One, it removes them. Two, it deodorizes clothes, making them smell fresh. Here's how to use baking soda on an underarm stain.
Step 1: Make a Paste
Create a paste of baking soda and hydrogen peroxide, mixing one part of each in a bowl. Then, add one part of the water.
If you need to clean the underarms on a single shirt, a quarter cup of each solution should suffice. For multiple shirts, increase the quantity proportionately.
Step 2: Apply the Paste and Let It Sit
Using a toothbrush, apply the paste to the underarm stain. Let it sit for 30 minutes.
Step 3: Rinse
Rinse the shirt in warm water. Do this process twice if the stain is stubborn.
Step 4: Wash in Hot Water
Now, wash the garment in your washing machine as you would normally. Use warm water and your regular detergent.
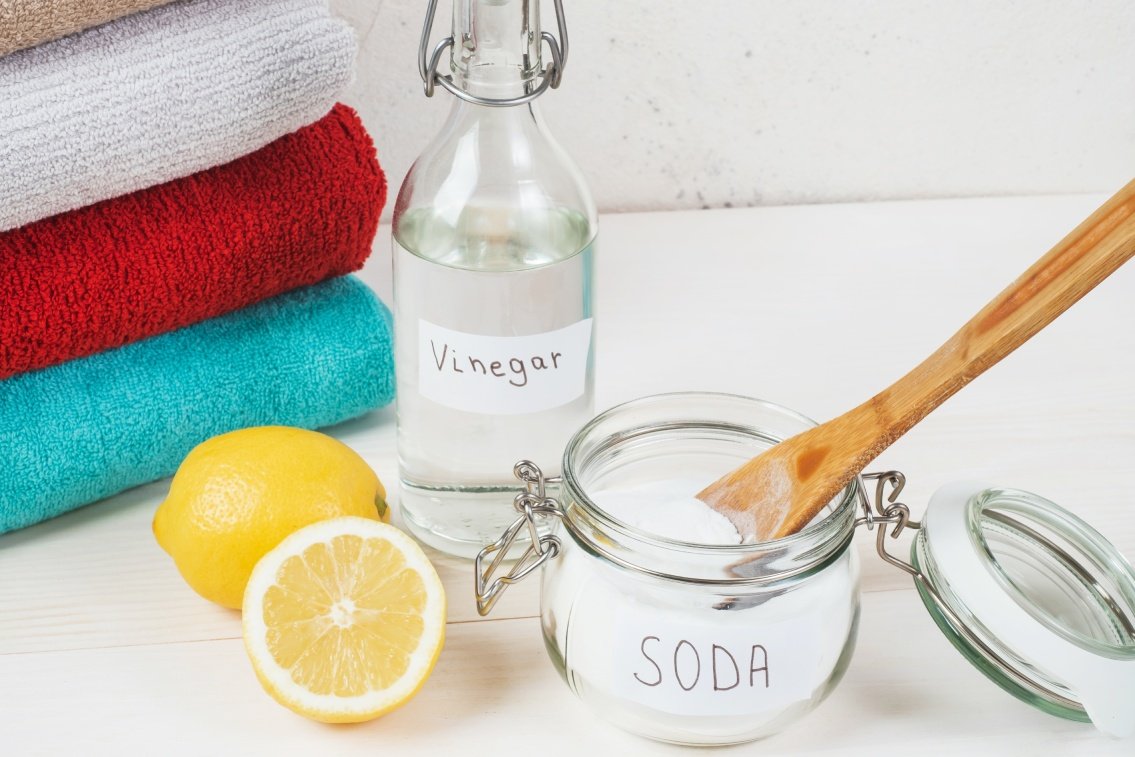
Method 2: Using White Vinegar and Baking Soda
If the stain is a little old, it might have turned yellow. White vinegar comes to the rescue. The acetic acid can help break down the stain and restore your garment to its original color.
Step 1: Soak Your Garment
Start by adding two cups of water to a cup of white vinegar to dilute it. Soak the stain in this solution for about 30 minutes.
Step 2: Wring
Take the garment out and wring it to remove as much liquid as possible.
Step 3: Make a Paste
Create a paste by mixing half a cup of baking soda, a tablespoon of hydrogen peroxide, and a tablespoon of salt. Stir well until it forms a smooth paste.
Step 4: Apply and Let It Sit
Using your fingers or a toothbrush, apply the paste to the underarm stain. Let it sit for 30 minutes.
Step 5: Wash in Hot Water
Wash the garment in the hottest water possible for the fabric. You can use your everyday laundry detergent for the load.
The key is not to dry the garment in the dryer. Instead, line-dry it. The heat from the dryer can set in the stain, making it permanent.
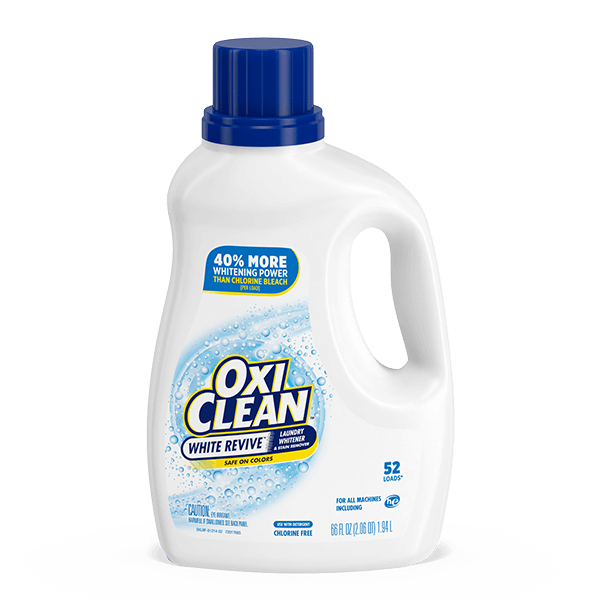
Method 3: Using Oxiclean
We'll preface this section by saying that this method is NOT calling for chlorine bleach. That's the last thing you want to use on a sweat stain. Instead, we're talking about oxygen bleach like Oxiclean.
Step 1: Make a Soak
Make a soak by dissolving a scoop of Oxyclean in two tablespoons of household ammonia.
Step 2: Rub
Rub the affected area for at least 60 seconds with a toothbrush or a soft-bristled brush. Let the solution sit for 10 minutes.
Step 3: Rinse and Wash
Rinse the garment thoroughly and then wash it in cold or hot water. Check if the stain is gone before putting it into the dryer. If it is still present, repeat the same process until the stain is completely removed.
Method 4: Using Lemon Juice
Yes, the good old-fashioned lemon juice can also help remove sweat stains.
Step 1: Make a Solution
Mix equal parts of lemon juice, water, and baking soda to form a paste.
Step 2: Apply the Paste
Work the lemon juice paste into the stain and let it sit for 30 minutes.
Step 3: Wash as Usual
Wash the garment as usual and air dry it. The combination of lemon juice and baking soda will help lift the stain, leaving your clothes smelling fresh.
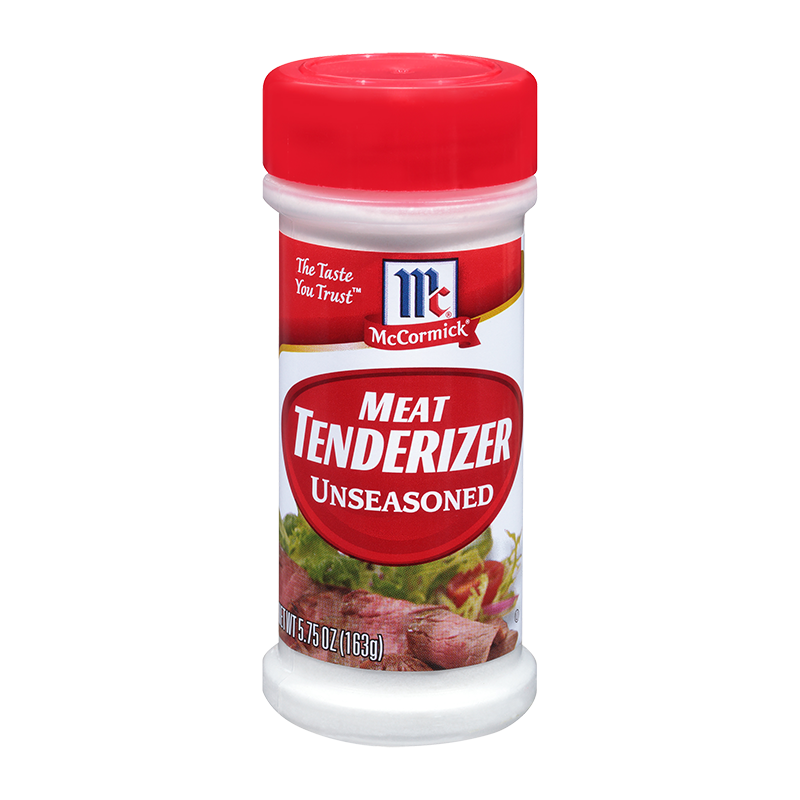
Method 5: Using Meat Tenderizer
We know this may seem like an odd method, but trust us, it works! A meat tenderizer breaks down proteins. If you think about it, aren't sweat stains protein-based, too?
Step 1: Dampen the Stain
Start by dampening the stain with cold water.
Step 2: Apply the Meat Tenderizer
Sprinkle a generous amount of meat tenderizer onto the dampened stain, covering it completely.
Step 3: Let it Sit and Wash
Allow the meat tenderizer to sit on the stain for at least 30 minutes before washing as usual. The enzymes in the meat tenderizer will help break down the proteins in the stain, making it easier to remove during the wash.
Although this method works, you should use it as your last resort. Try lemon juice, baking soda, or white vinegar first.
How to Prevent Armpit Stains: 5 Tips
We've now seen there are a few ways to remove a deodorant stain or sweat marks. But wouldn't it be better if you could just avoid them altogether? Making a few changes to your clothing and deodorant use can help keep sweat stains at bay.
Here are a few tips to help prevent armpit stains in the first place:
-
Use aluminum-free deodorants. One of the main causes of armpit stains is the reaction between aluminum in antiperspirants and sweat. By switching to an aluminum-free deodorant, you can reduce the chances of this happening.
-
Wear breathable fabrics. Although they can occur in winter, sweat stains are most common in summer. Wear cotton or other breathable fabrics, as they allow air to circulate and reduce the amount of sweat trapped in your armpits.
-
Let the deodorant dry. When using stick deodorants, let them dry completely before putting on your clothes. It will prevent them from rubbing off onto your clothes and causing stains.
-
Wear an undershirt. If you know you'll be sweating, wear an undershirt. It will stop sweat from absorbing into your shirt.
-
Don't put stained clothes in the dryer. The heat from the dryer can set in the stains, making it practically impossible to remove them later. Wash and air-dry stained clothes instead.

Experience Impeccable Stain Removal
When it comes to stain removal, especially for sweat stains, you should be prepared to spend an extra hour on laundry day. However, if you already have a hectic schedule, this could be problematic.
Fortunately, Rinse has a solution for your problem. At Rinse, our cleaning professionals know which stain remover to use for each stain and fabric type. We also use advanced techniques and high-quality cleaning products to ensure your clothes come out looking fresh and clean without any traces of sweat stains.
You don't even have to go through the trouble of bringing your stained clothes to us. Simply drop us a text or book a pickup through our app, and we'll take care of the rest.
We also offer dry cleaning services for those special garments that you can't risk tossing in the washer. Let Rinse handle your laundry and stain removal needs so you can focus on the more important things in life.
Contact us at Rinse today to see our skill in action.
Image Source: Church & Dwight Co., Inc., McCormick & Company, Inc.
Topics
Rinse Drop
We offer pickup and delivery if you can’t be present between 8pm and 10pm.
Our Valet will pick up or deliver your order to your doorstep or concierge, at which point you’ll receive a text with a photo showing where your items were left.
You can enable Rinse Drop on any (or all) of your orders.


